Reflections on September 2015: A Roof Over our Heads
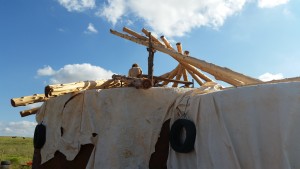
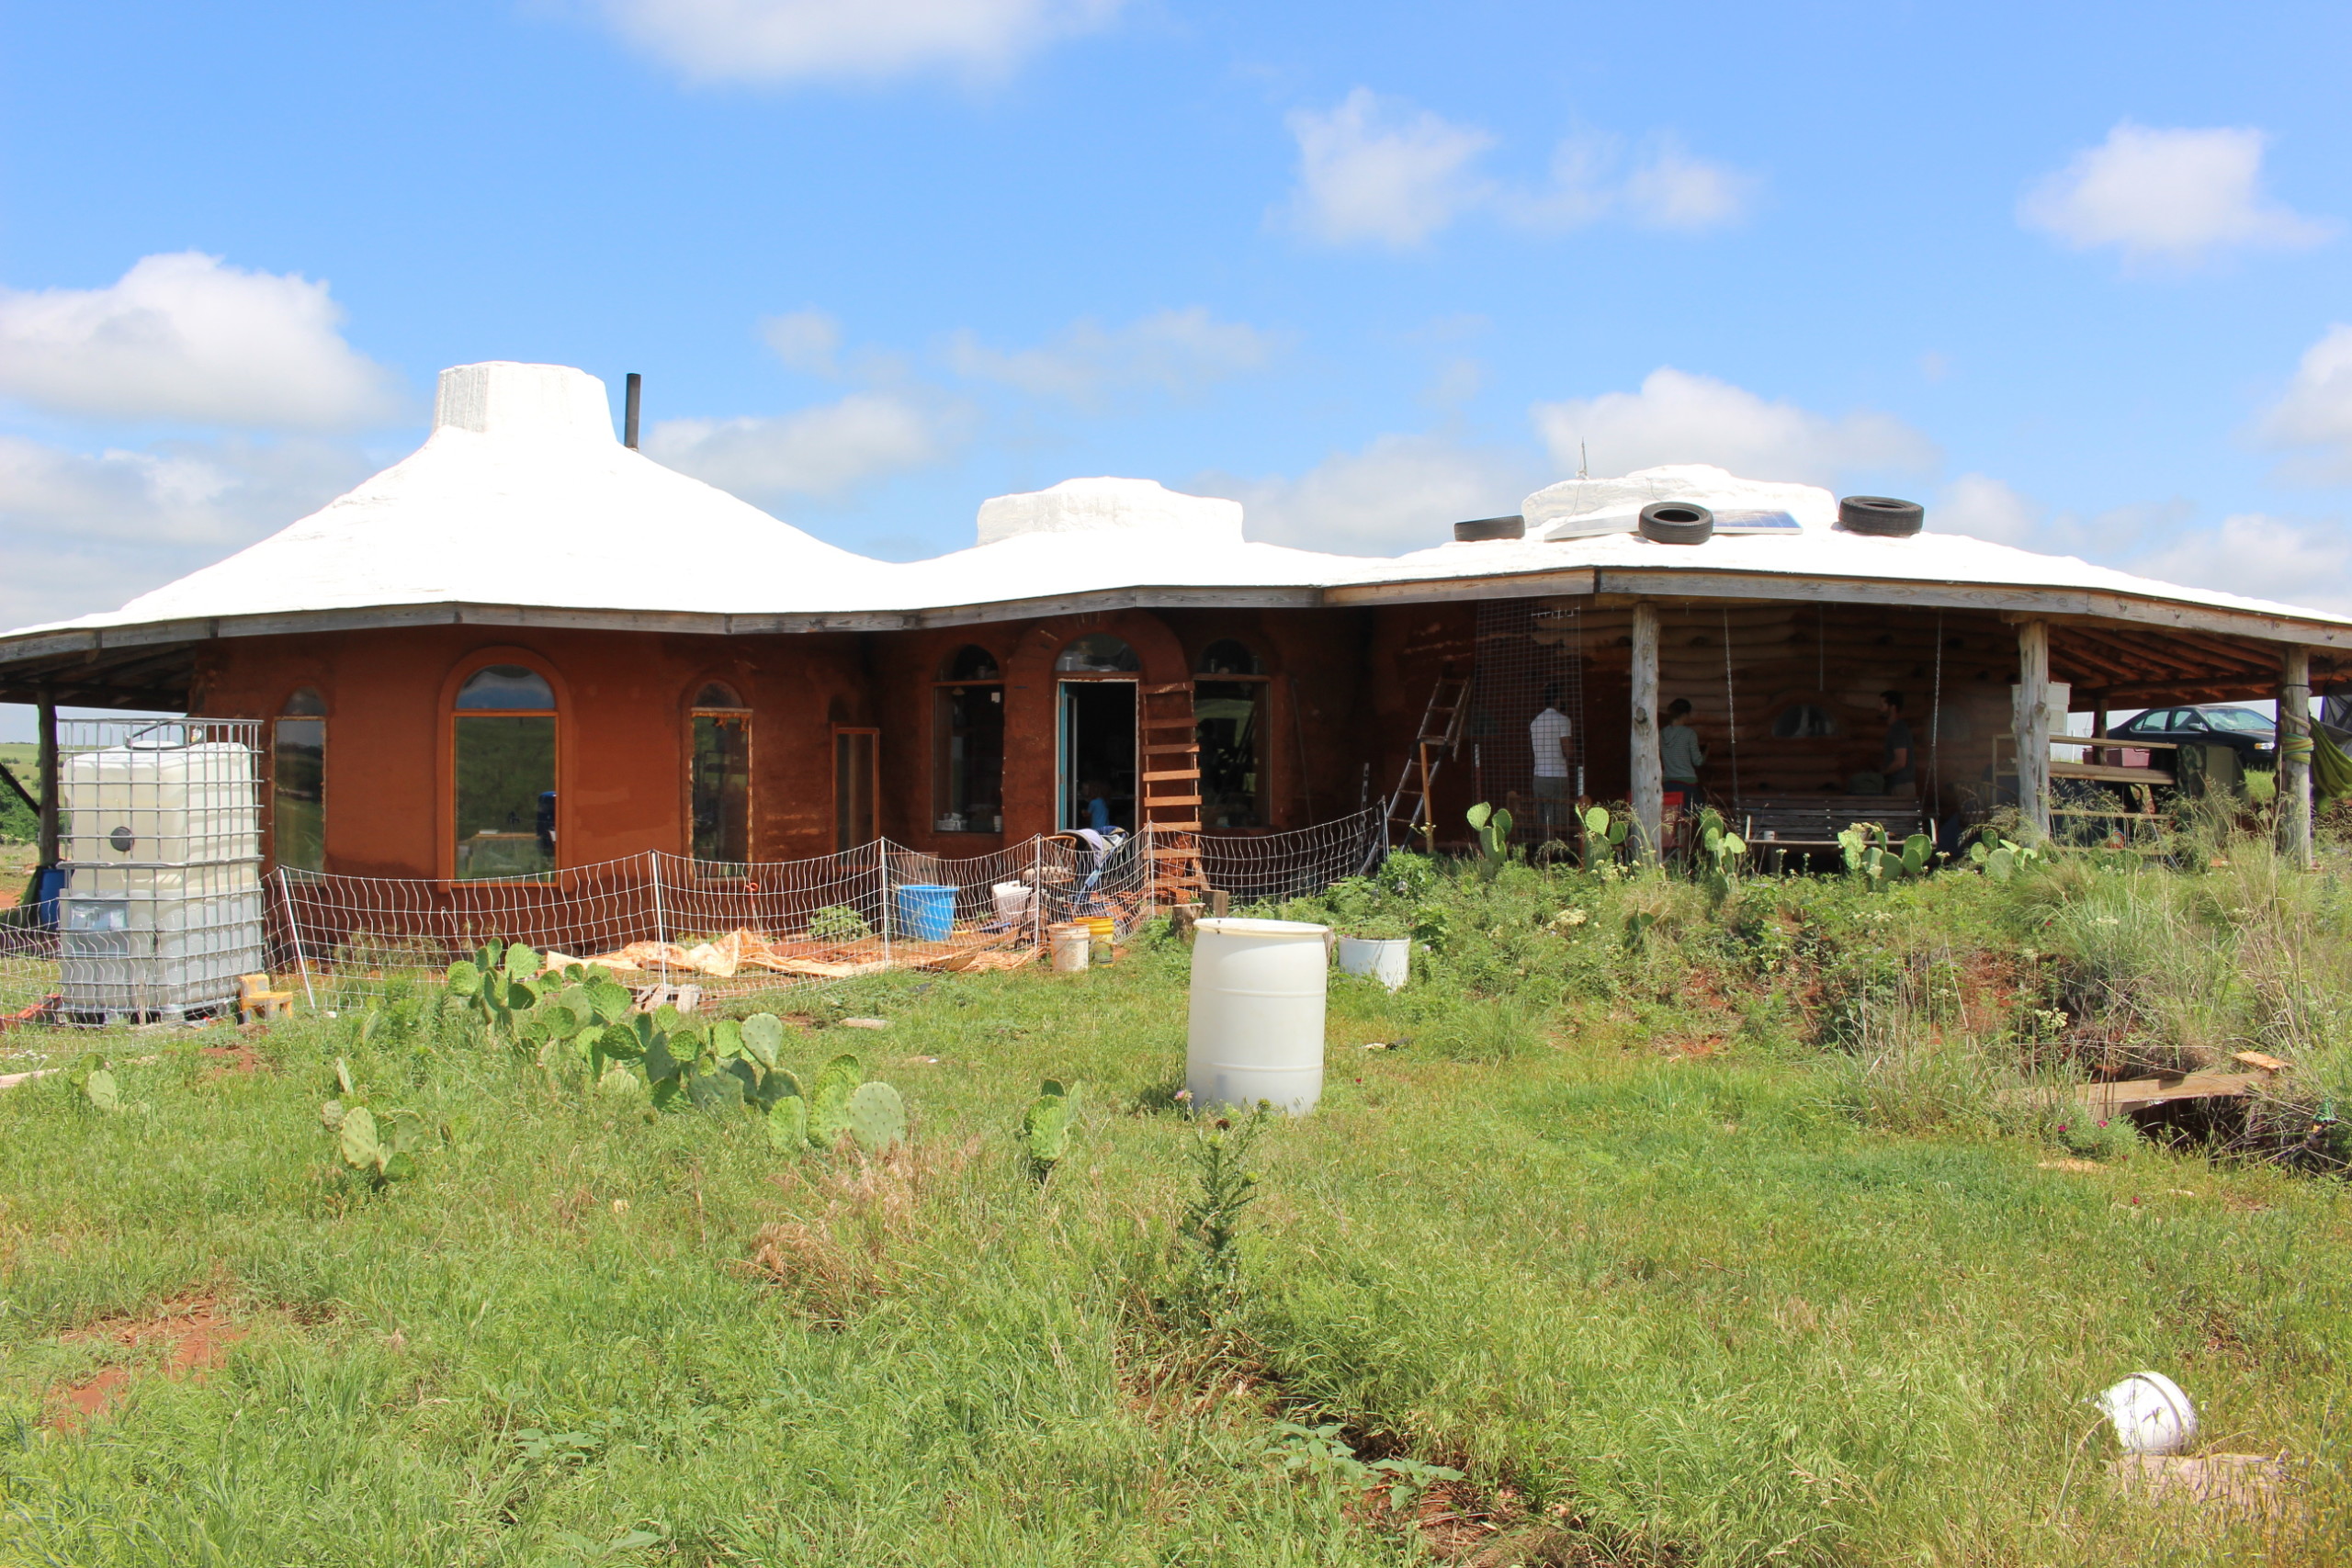
This month marks a very important turning point in H.O.M.E. Farm’s history and development. We have officially moved into our earthbag home! It’s primitive, with the wind still freely blowing throughout the room, and dirt floors, and crickets wandering around underfoot. Nevertheless, we have our bed set up on a pallet platform and the baby’s pack n play crib nearby. Our calendar hangs on the wall, reminding us of the limited number of days we have until it gets really cold. This is all possible because of the hard work we put into finalizing the temporary roof on the east room.
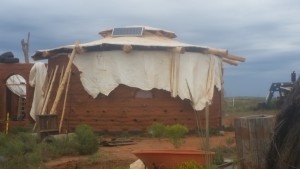
It looks a bit dreary in that photo because of September’s frequent clouds, and it has a tattered and worn ambiance because of the tattered tarp still hanging there, but it has a roof!! We can go inside, and be protected from sun! And rain! And wind! Now, I’ll tell you about the process.
In the first couple of days of September, my older brother, who I look up to very much, came to visit and help out with roof #2. He lives in Colorado Springs and had about a 9 hour drive. This was his first visit to the farm and he was very impressed by the size of the house and all the work we had done up to this point. First, we had to go into the woods and finish cutting and peeling logs for our center and east rooms.
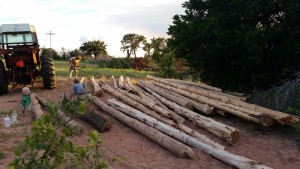

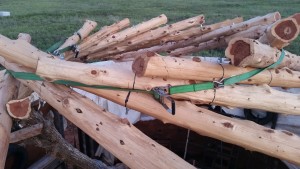
Aaron’s dad told us about some oaks that needed to be cut, and suggested that we use them on one of our roofs. We thought this sounded like a great idea for the center room. I was so grateful that my big brother was able to help with this part because oak logs are about 4 times heavier than cedars! I was physically unable to lift even the end of one of the oak logs. And I am really in shape right now, by the way. Aaron and Clay, (that’s my brother) loaded up all the oaks onto the hay trailer we borrowed from Grandpa Mike and delivered them to the farm. Clay was way tired that evening.

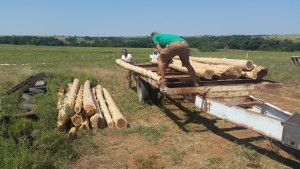
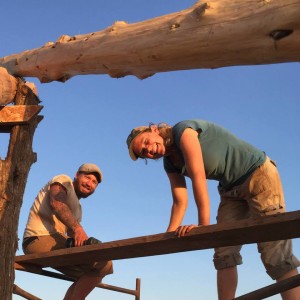
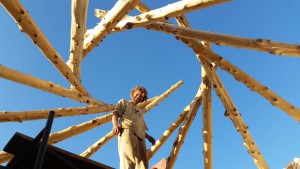
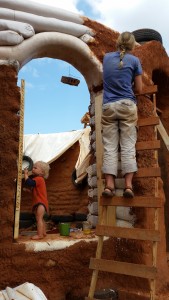
Then it was time to assemble roof #2, over the east room, which will eventually be the boys’ room, and sooner than later, will be our winter living quarters. This roof is the same design as the first roof, being reciprocal, where each of the 14 beams lays atop the previous one. We chose for this one to have a larger center opening though, and to have much less slope. Clay and I have the same mother, who passed away in June. She must have had acrophobia because all three of her children are weary of heights. Clay was very brave though and worked right through his fear. He climbed up and down the scaffolding and walls, slowly but surely, and maneuvered the logs into position atop the Charlie.
The Charlie on roof #2 took a lot of maneuvering. The initial standing it up wasn’t so bad, but the placement of it, relative to the wall, was stressed about quite a bit. Charlie has a fork on the top end, and we positioned it so that the smaller leg was on the outside of what would be the ring created by the roof beams, instead of on the outside.
It has been a while since I wrote a technical descriptive composition paper, and I was finding it difficult to do so when describing our roof construction. So, I will show you pictures first, and then describe what’s happening. I think that will make it easiest to comprehend.
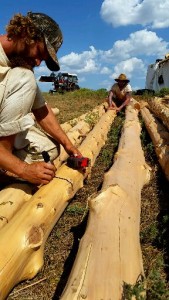
First, the logs were marked to find their balance point, making them easiest to maneuver up on the wall. They were also measured, and any protruding limb pieces were removed with the chainsaw.
We used the tractor again to lift each log up onto the wall. Then, as Aaron pulled it off the tractor bucket and onto the wall, Clay received it and got it into position on the Charlie stick.
This is the holding position that Aaron used to balance the wall on the log. He secured the rope around the timber and held it in place while Clay put in the screw to temporarily hold the log in position. Yes, each log was held in place by a tiny screw until the next log went on top to hold it. And then they were bolted together with all-thread and lock-nuts.
Clay stayed long enough to get 8 beams up on the wall. It was really amazing (and comfortable) to watch it happen from down below, safe on the ground.
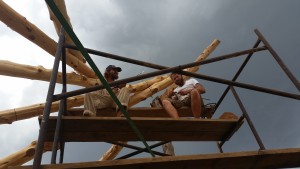
Because this roof is so much shorter than the first one, the scaffolding had a tight fit just underneath and had to be moved and adjusted periodically.
After Clay headed back up to Colorado, Aaron and I kept on truckin’ with the timbers and got all the logs up on the wall and into position. As we got closer to getting all 14 up there, we suspected there would be a large gap between the last log and the first. This is the opposite problem we had with the first roof.
I was overwhelmed and feared that we would have to start all over, but there is no task that this man can’t handle. “Hand me some ratchet straps, dear,” he exclaimed as if this was no problem at all.
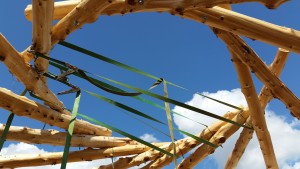
We ratcheted the whole thing around laterally, and pulled it tight while ratcheting it across the opening like this:
I think we ended up using 6 straps that we pulled tight little by little, while watching the gap close. We also had to move the beams around on the wall to make their gaps equal.
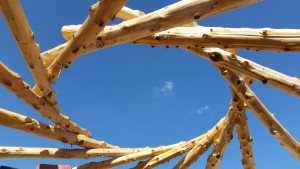
After a few hours of ratcheting and pulling and prying and inching creaky logs closer and farther apart, we were finally satisfied with our work. This opening is about 8 feet in diameter. A great distance for a small geodesic dome with windows perhaps. 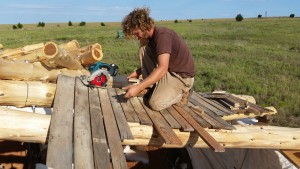
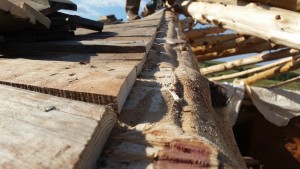
Then it was time to add some decking. Actually, we had to put up the secondaries first. This didn’t take long. The secondaries are smaller and shorter timbers that shrink the gap at the wall-end of the primary timbers. They were bolted to the primary timbers and stacked on scraps of wood on the wall-end. I didn’t manage to get a picture of those, but you’ll see them later when I show a photo of the ceiling from underneath. Anyway, pallet wood is perfect for decking. Aaron laid the pieces across the beams and cut off the edges, so that they allowed room for the next section.
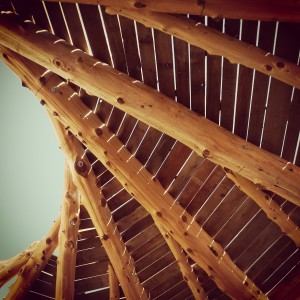
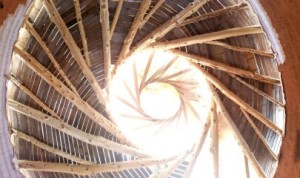
These were screwed in place into the beams. From underneath, they look really nice!
This picture is the one I used on my Instagram. If you search for the hashtag homefarm, (#homefarm) you can see many cool photos of our projects, a lot of times with neat filters, like the one above.
Then we up-cycled our tarps as covering for the roof, which Aaron laid down like big cloths of shingles, starting at the bottom first and working his way up to the top. We used a staple gun for those. It should be noted that we used some home-made washers for the staples. Those “No Trespassing” and “No Hunting” signs cut up into little pieces are perfect for this. Being white, on a sunny day, it’s really bright up there.
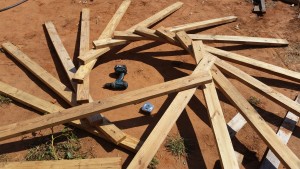
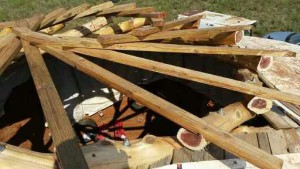
Then it came time to think about a temporary roof to keep the rain out while we worked on the other roofs. So, Aaron came up with this idea. 2x4s set up reciprocal-frame-style to create a mini-roof.
That was a quick job. After we got them up there, Aaron used the chainsaw to make flat surfaces for them to rest on the primary timbers, and screwed them into place.
In this photo, you can see how the secondary logs connect to the primaries and give a place for the pallet-boards to rest on top. The inner frame twists the same direction as the outer circle, which looks a bit like the iris of our eyes. After that was placed, we added some more tarp and bam! Our east room is now in the dry stage.
Now I want to take a moment to talk about resources. Specifically, pallets. Over half a billion pallets are made each year. They are used all over the world to ship a multitude of goods, the largest being food. I wondered about pallets and their chemical properties. Are they treated? Is it safe to use them inside our home? From good old Wikipedia, I learned that there are 12 different sizes of pallets, which the International Organization for Standardization regulates. The most common, by far, are the 40×48 and 42×42, and sure enough, we get a lot of these in our area. The International Plant Protection Convention deals with pallets that are shipped internationally. These have to be treated to prevent carrying invasive species of insects between continents. They also must be marked that they have been treated, either with an HT (Heat Treated) or an MB (Methyl bromide) chemical fumigation, and always with the IPPC label. We have taken apart at least 75 pallets and have not seen this label. Most pallet manufactures in the United States consider the pallets to be waste items, that should be discarded after shipment. Therefore, most domestic pallets are not chemically treated. However, it is advised to examine all pallet boards for oils, greases, molds, or other suspicious stains, because these may be spilled liquids from shipments that may be harmful.
That being said, I think our pallet-roof is safe, and an excellent example of removing a resource from the waste-stream and using it multiple times for the good of our family.
We have used these pallets to build our “clubhouse,” “pallet shack,” or “birthing stable,” as my mother called it.
We then used pallet boards to build the forms that held the shape for our windows, doors, and arch forms.
We used the nails for many other projects, including a key-surface for cob to stick to wood.
They have served the purposes of windblock, ladder, table, shade, and even a play-fort.
And now, after being dismantled and reassembled multiple times, we’re using them to put a roof over our heads.
At the end of September, Aaron has begun to add the pallet decking on the west room. I’ve been cobbing what bag is left exposed. It is slow going, just like this blog, because of our sweet little toddler who is so helpful, yet demands so much attention. It is also slow because I am the gopher for all the dropped tools and boards that Aaron needs to continue the roof. I can’t complain though. I am so grateful that he doesn’t have the fear of heights that I do.
I’ve also been busy simply tidying the work-site. All the bricks that held the barb-wire in between rows of bag need to be removed and placed together in a resource pile. All the tires that were used for holding the tarps down need to be untied and stacked neatly nearby. And pieces and piles of tarps and tarp fragments are scattered everywhere. It feels like the end of a chapter in our book to be cleaning up these items that were once so important and now they are simply clutter. The next chapter involves a lot more granite scraps, cob, and artistic style, which I am excitedly looking forward to.
Next month, October, we’ll be working hard at winterizing our east dome, in which we’ll be rebuilding our rocket stove. We’ll also get creative with cob and possibly an earthen floor! I can’t wait to tell you more.
And so, we now begin winterizing our east room. If we get ahead, and the weather isn’t too brutal, we’ll winterize the other rooms too. But for now, we’re focusing on the east room to keep us warm at night in winter. It’s almost like living in a tiny home. I think I’ll get out the Little House on the Prairie series for our 9 year old to read, so he doesn’t feel deprived. After all, they didn’t have solar-powered electricity back then.









2 thoughts on “Reflections on September 2015”
So happy to see your progress. The roof timbers and decking are beautiful!
Thank you, Daniel. We are really happy with them.