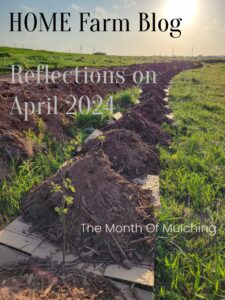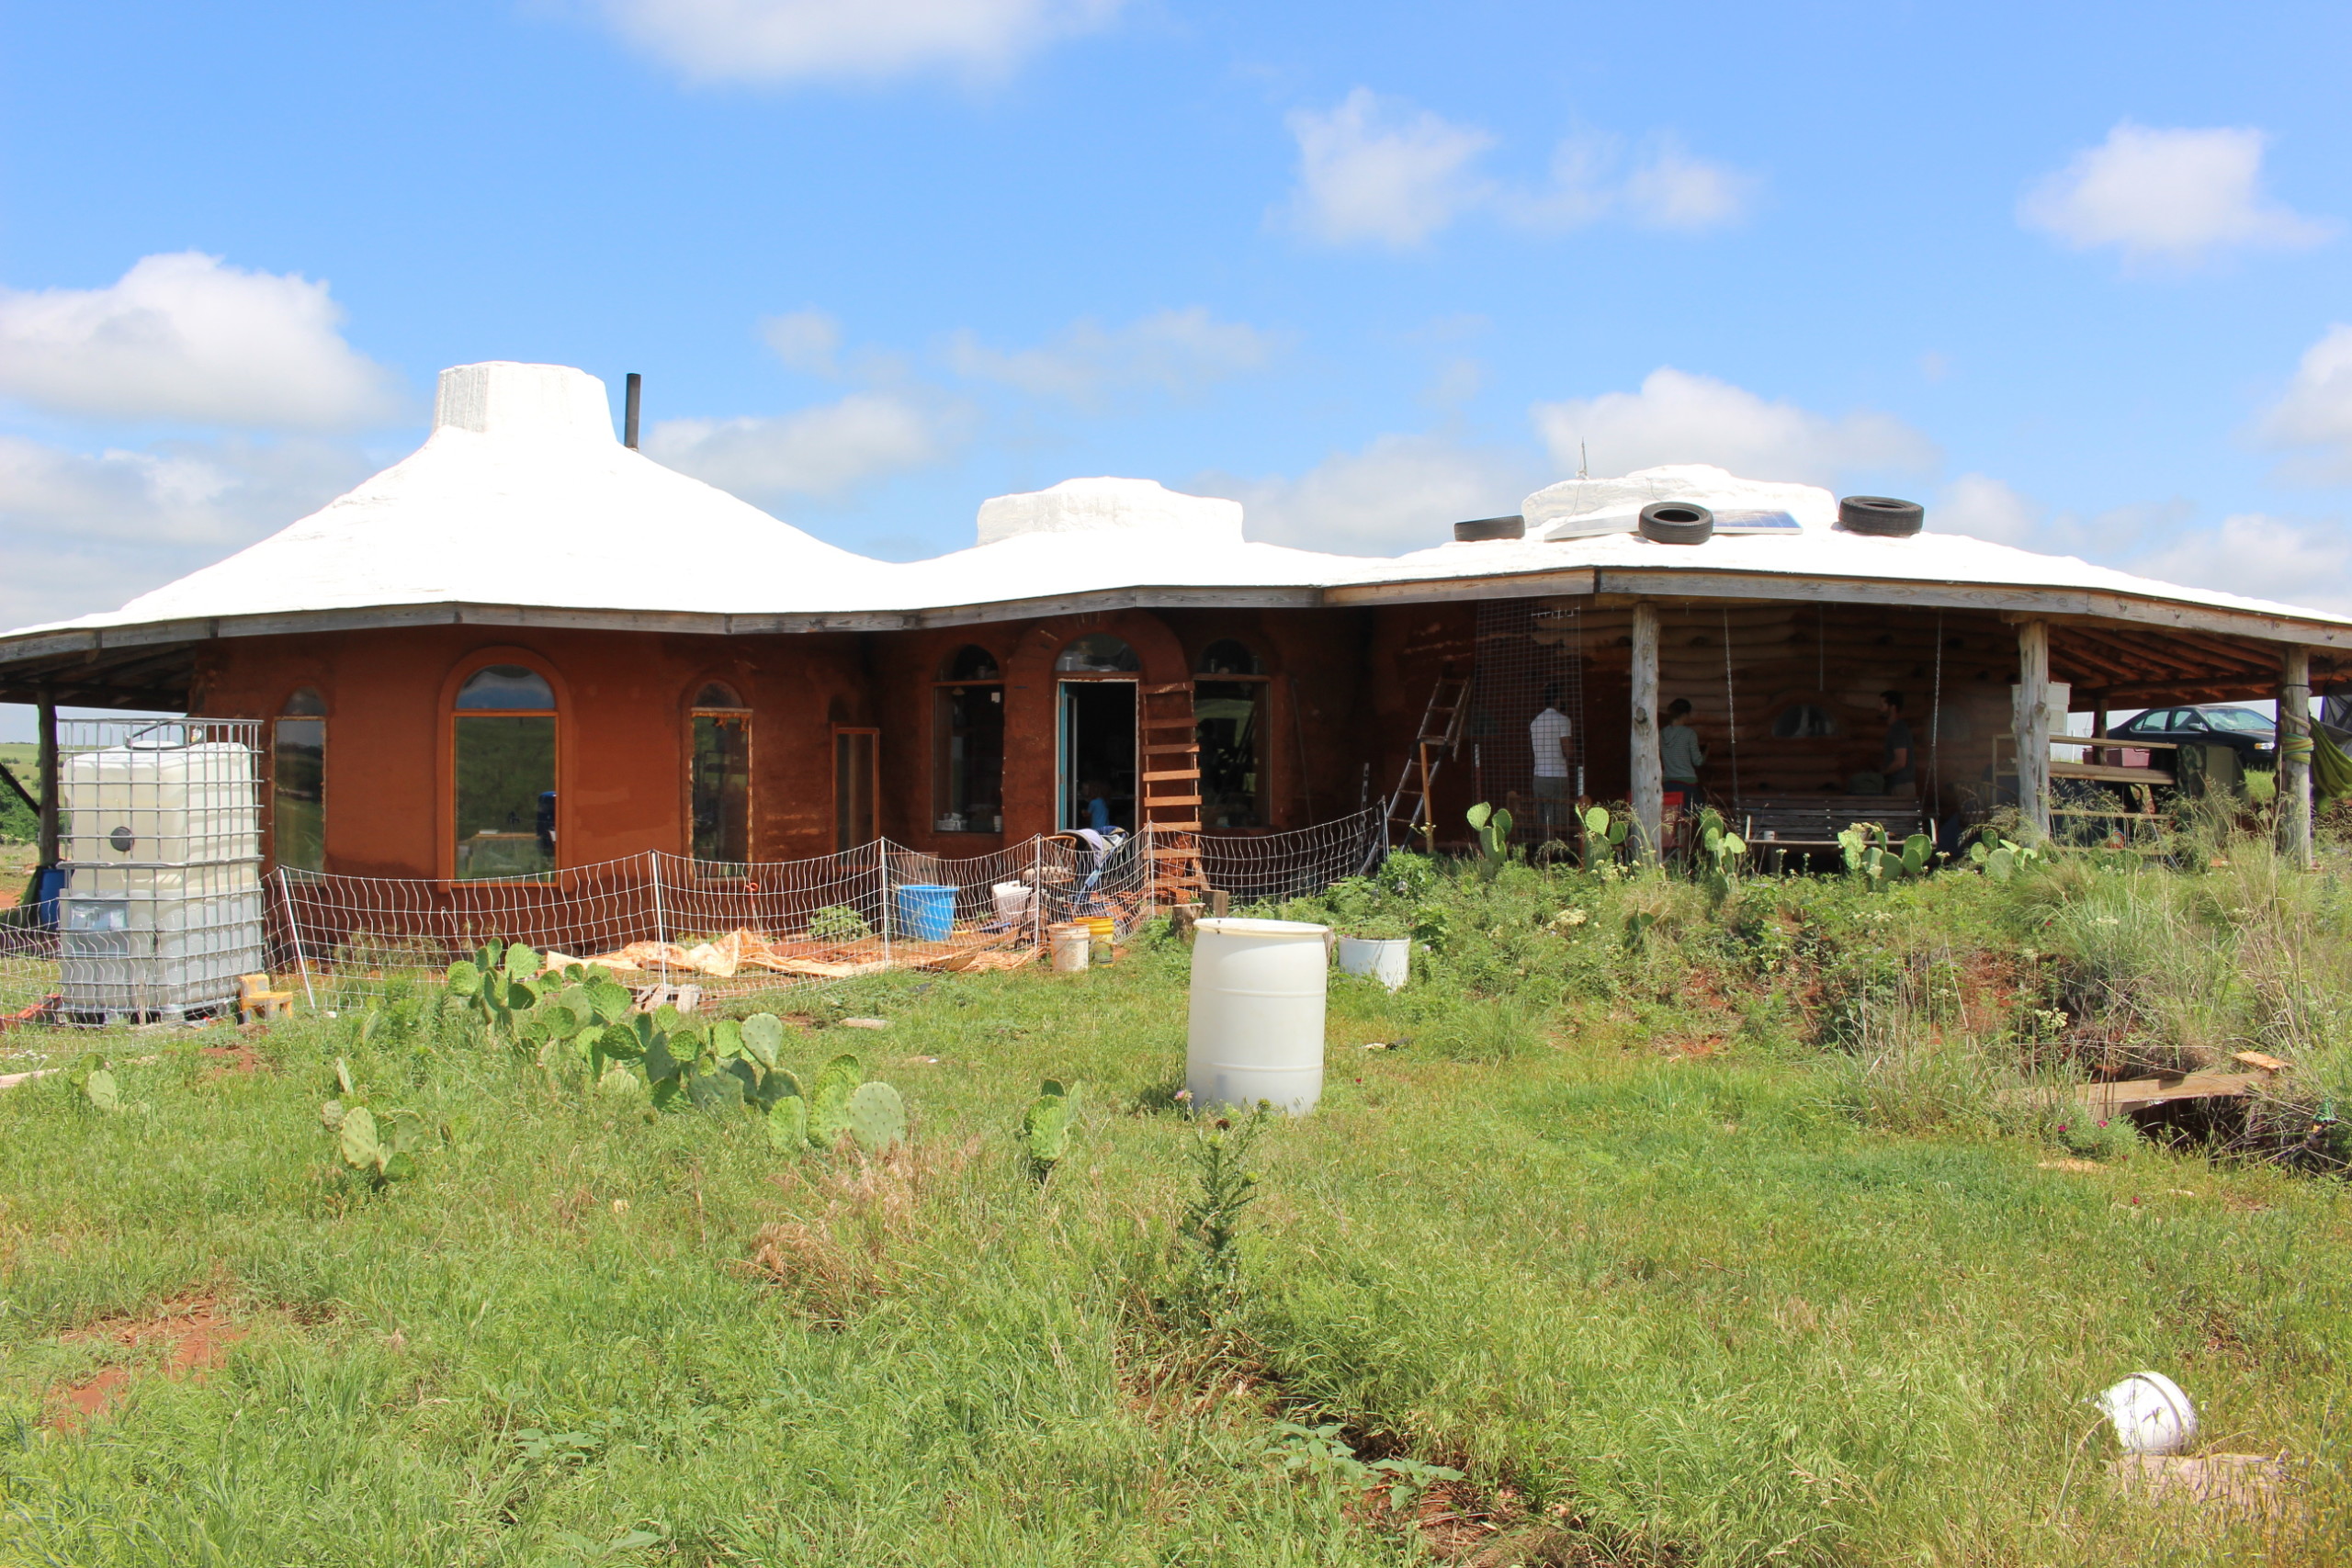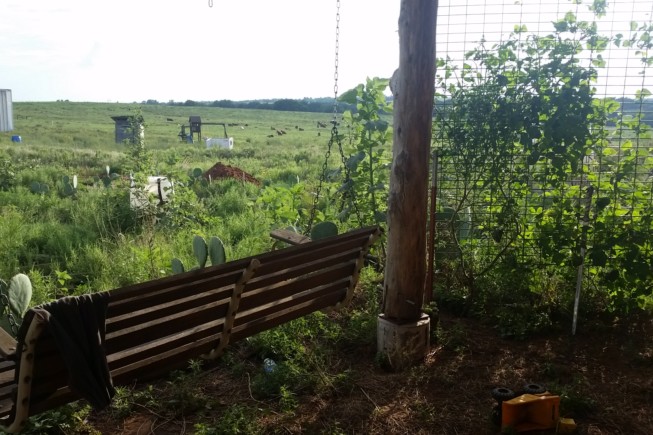
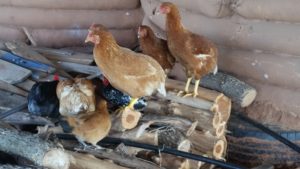
Welcome back to the homestead, readers. The grass is not always greener on the other side. Our pastures are as green as my birthstone, the emerald, and it’s been this green all month. A birthday blessing just for me! I think we surpassed August’s rainfall average in the first week. And our spray-foam-elastomeric-coated-pallet roof is holding up marvelously. Since we began letting the chickens free-range during the day, they have been hanging out under the porch, perching comfortably on this woodpile during the rains. Unfortunately they are not laying eggs yet.
The weather has been perfect for indoor beautification. So far, I have applied one batch of interior earthen plaster! Real, hard plaster that goes on and stays on! It feels so final shaping the corners and smoothing the walls. We got the recipe from The Year of Mud. I read up on how to get a plaster mix that dries hard, doesn’t mold, has few cracks, and looks beautiful. I kept coming back to the same suggestions: fresh manure and borax. And so, without hesitation, hubby ran out to the pasture with a bucket and brought us back some fresh, smelly manure. We let it sit outside for 3 days to start the anaerobic fermentation. This is supposed to create a really soft and almost fluffy consistency. It did! Here’s our mix:
- 3 buckets of our local subsoil
- 1 bucket bull shit (green cow manure)
- 2 buckets water (depending on the wetness of the soil)
- 6 cups flour paste (6 cups boiled water with 1 cup flour stirred in)
- 1 cup borax diluted in 1 cup water
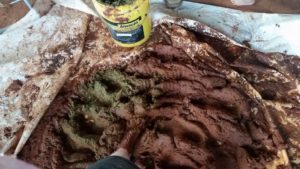
Stomping in the warm frothy manure was so different from the clumpy straw and mud mix that I’m used to. Yes, it smells terrible. But as it’s drying, it smells less like manure and more like leather and then it fades and doesn’t smell at all. The borax did prevent most of the mold, which is pretty impressive, considering all the moist weather we’ve had. There was very minimal white powdery mold which brushed off with a broom once dry, and didn’t appear again.
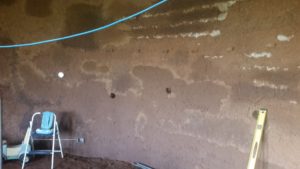
My experience with plastering has been smearing it on with my hand, so using a magnesium float has been very tricky. I find that I use a lot more water on the plaster once it goes on to correct and overcorrect imperfections. This caused quite a bit of cracking. Applying it too thick also causes cracking.
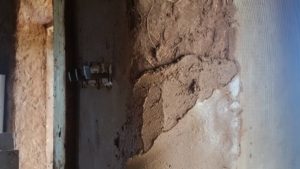
It was difficult to plumb the wall straight up and down, while maintaining the curve. The corners around the doors and windows take much much longer than a professional plasterer, I’m sure. We’re not going to finish the west room first, as I had imagined. We’ll be cobbing the middle room and applying plaster there and under the archway before we completely finish the west.
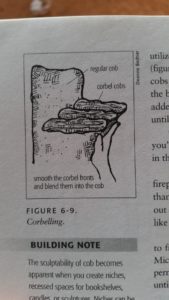
I have become enamored with the possibilities of cob structures and built-in shelves. I want to completely cover some of the walls with built-in shelves! However, because of mold issues (the cob has straw, which molds much more than the manure) we have had to allow the previous applications to dry before adding more. As with so much of natural building, shaping cob shelves takes time. This image is from Dan Chiras’ The Natural House, an excellent look at many different building methods.
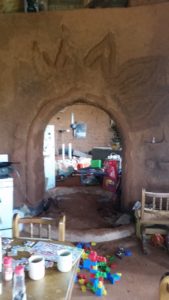
A part of natural building I love is the ability to be creative. And, if a cob sculpting attempt doesn’t turn out the way I like, I can simply wipe it off and start over! Unless it has dried, and then there is some scraping and chipping away involved. But still, it’s art that can be recycled. I’ve been toying with this sun-sunflower over the archway to the center room. It feels very Indian. This sculpture and the other ideas we’ve been throwing around have led me to the following words when I try to describe our home’s major themes; earthy, Bohemian, rustic, steam-punk. How’s that for our own unique style? It is so exciting to finally begin the beautification stage of our home-building adventure!
We also began work on the middle room’s floor and kitchen! I have stood in that room, imagining the kitchen cabinets, with their glass-fronts and the granite island counter for hours. The sink will be the central work space in that room and that’s fine because I spend a lot of time at the sink, washing dishes, washing vegetables, filling pots to make soup, etc. I think it’s more cozy in its new location. I had previously wanted the sink to look out a window onto the front yard. More than any other room in the house, the kitchen is my space. It is a creative space; an artist’s studio. I need it to have certain qualities and feel just the right way in order create my most glorious dishes, and be able to survive those dinners I’m really too tired to make. The work triangle, toe kick space, and plenty of light, are some of the basic concepts that my kitchen must have.
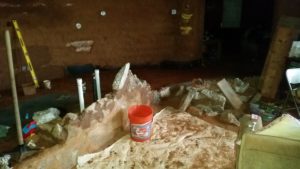
So we made some decisions about permanent placement of the refrigerator, oven, and island with sink. The sink island will have a bar with 3 – 4 stools looking toward the kitchen. As we contemplated what the island would be built out of, I remembered that, in the winter, at the sun’s lowest azimuth, it reaches all the way to the back wall. If the island were made of stone, it could act as a battery and hold some heat. And so, Aaron has been traipsing over to the nearby dump to pick up pieces of reject concrete. It’s the same stuff we used for the stem wall of the bathroom. We’ve built it up about 2 feet so far and need to go another foot to reach the height where the granite counter top will be installed. The infill around the concrete is our mix of local subsoil and Portland cement; what we’ve been calling “fortified earth” and “soil cement.”
Aaron got to play with bricks and “mortar” (that same mix) to make a floor register area where one of our earth tubes will enter the floor of the kitchen. If you are going to build any type of earthen home, I highly advise that you not remove dirt from the interior of the home unless you are sure about the final level of said floor. We have steadily been bringing in wheelbarrows of dirt from our east patio area. We finally have the level up to where we want it in the upper level of the kitchen. Aaron also ran the pipes into the middle room for the sink.
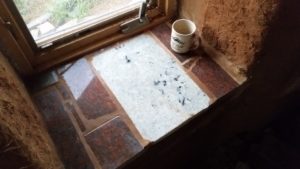
Soil cement is also used for the window sills in the west room. We chose some favorite pieces of granite scraps and laid them out, snapped a picture, moved them out of the sill, laid some soil cement, and laid the scraps back down according to the picture. Then, after a day or so of curing, we filled in the spaces between the granite with soil cement. A more experienced builder might call this “tiling.” The sill looks fantastic and feels so permanent and complete.
Books of the Month:
My mother in law talked me into reading a book for her book club. She didn’t have to do much talking, because I have wanted to go to a real-live book club for sometime, having only talked about books on facebook groups. We read The Scent of Rain and Lightning by Nancy Pickard. I can’t add this one to my 2017 Reading Challenge, but it did allow me to dip my toe into the water of the murder-mystery genre. It’s not the most eloquent prose, but the story moves gracefully along and surprises abound. It was fun.
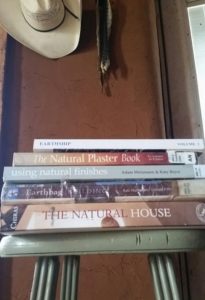
I’ve also been poring over some natural building and natural plaster books. The Natural Plaster Book by Cedar Rose Guelberth and Dan Chiras, and Using Natural Finishes by Adam Weismann and Katy Bryce. I have learned enough about all the tools, methods, and plastering jargon to write an entire blog solely about plastering.
Aaron read Tom Clancy’s Full Force and Effect, a massive collection of words about war and generals and money, and the middle east. Blecchhh. There is a reason we don’t read the same novels. He also breezed through the first 3 novels of the Tiger saga by Colleen Houck.
Julius (11) finished the 7th novel of the Harry Potter series. This was his second time reading it. He also began Ready Player One by Ernest Cline, which he says is the best book he’s read so far! Like out of the hundreds he’s read. He’s only on the 6th chapter. And, because he’s become a real botanist, working through Thomas J. Elpel’s Botany in a Day for school, he also grabbed a bunch of plant identification books from the library. One was Amy Stewart’s The Drunken Botanist, which is a super interesting read about so many plants and their infamous uses.
Mason (3) has been enjoying The Little Engine that Could. The illustrations from 1930 are so familiar but also bizarre. He loves anything that goes.
Kyias (5 months) has been taking a break from books because he is focusing all his energy on sitting up. His record so far is 10 minutes.