Garden Prep: Permaculture Style
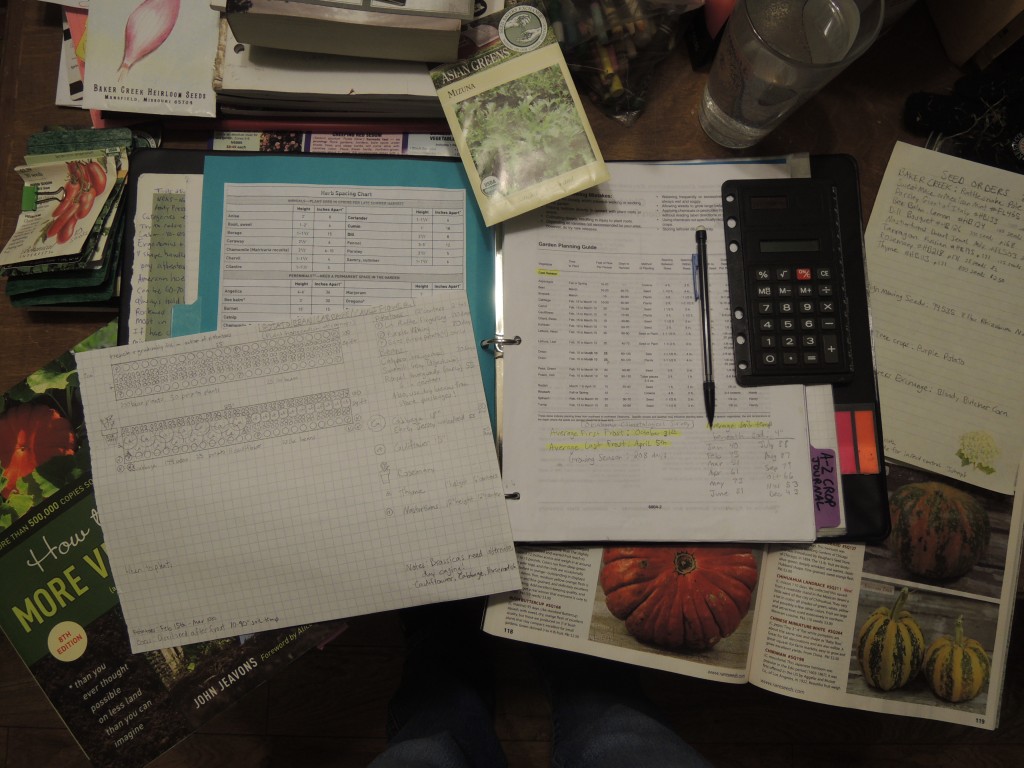
Ah, February, the month of staying warm in the house, on the verge of becoming totally sick of being inside. Craving the spring, despising the grey haze that blocks out the warmth of the sun. I feel this energy building inside me. It’s a creative energy. An energy that wants to get out, stretch out, and just be free outside. The first few days of this month brought snow and cold wind and some days of school cancellation. During those bitter days, we took a break from work on the earthbag home and I snuggled up to the computer with seed catalogs and graph paper and began the planning! Here is some of that planning: How Much to Grow Part 2.
While most of the Eastern part of the country was covered with snow and ice, we cooked over the fire and camped out in our semi-trailer. It got down to the 30’s at night, but during the day, it was a comfortable 60 degrees. We began our extensive permaculture landscape restructuring project. Because Oklahoma is lacking in rain during most of the summer, we need to have swales to catch and hold the water when we do get rain.
A swale is simply a ditch and attached berm, on contour with the land. As water trickles down sloped land, it is caught in this ditch, where it infiltrates into the surrounding soil, eliminates erosion, and recharges groundwater. Our first swales were simply 1 foot high by 2 foot wide snake-like piles of earth left over from the removal of our sunken keyhole beds.

After more research, we decided that we should dig ditches in front of these little berms. We learned that the ideal swale size has a ratio of 1 to 3, so that if its 2 feet deep, it should be 6 feet wide. The sides should slope very gradually so that a cutaway looks like the bottom 1/3 of a stop sign. And, the very bottom should be level and flat so as to slow the water as much as possible.
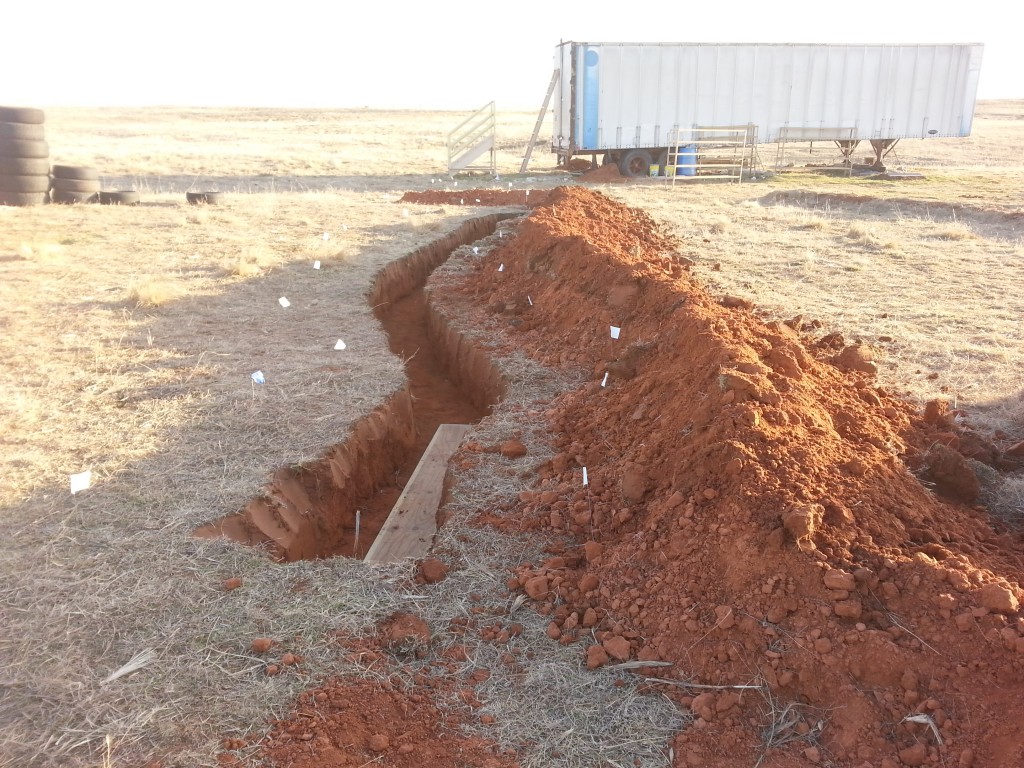
After the initial dig, Aaron cut more off the sides:
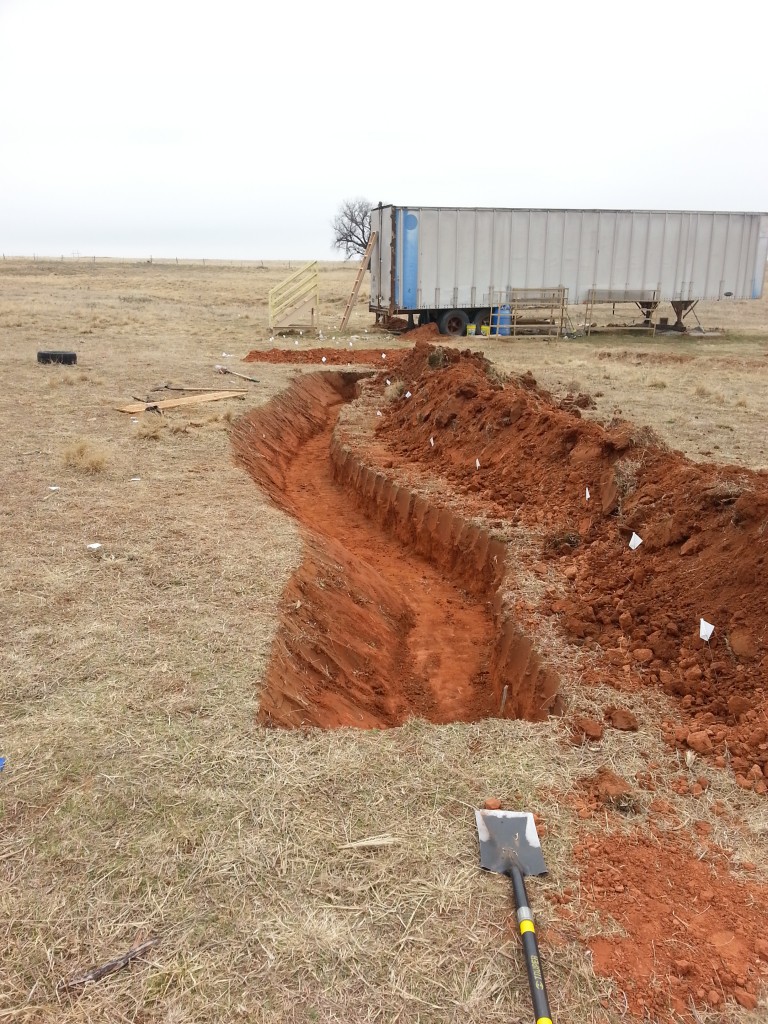
Then, to make the front and back slope, he cut out the right side as well:
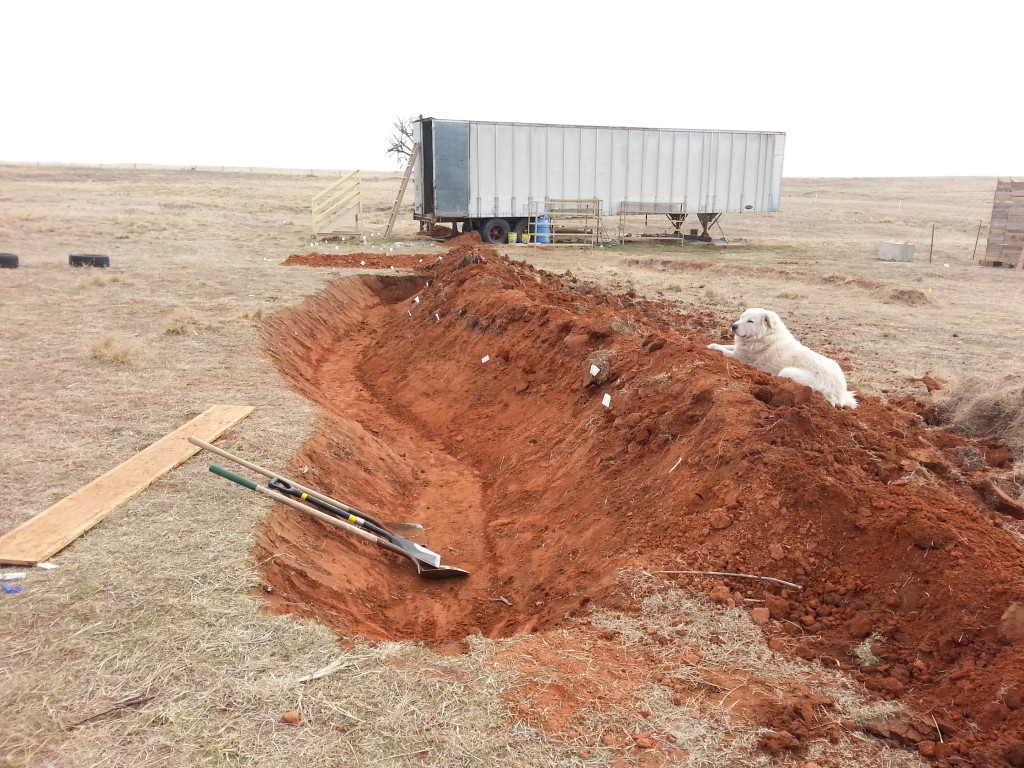
And now we have a swale that is approximately 252 cubic feet. This swale can hold 1884 gallons of water! If this fills completely, it will overflow and be caught by another swale downhill, which will send it into a hugelkulture bed. (Keep reading).
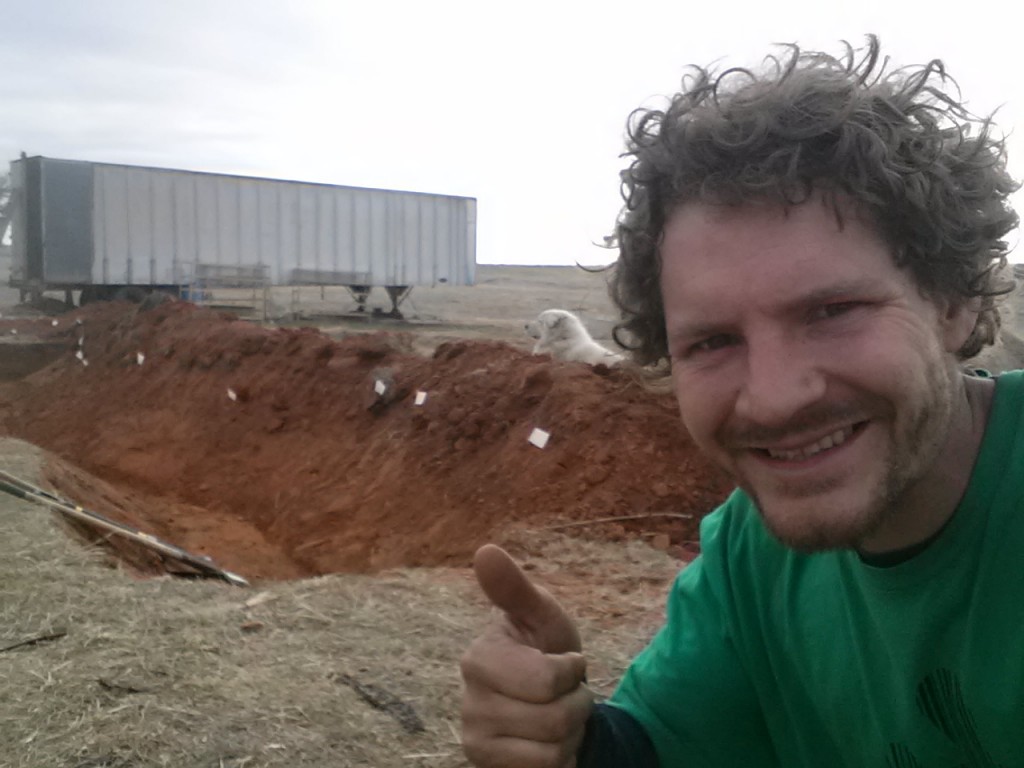
The ditch part of the swale can be heavily mulched if desired and the berm part can be planted. Our idea is to plant this particular one with some fruit bearing bushes that will act as windbreak, food for birds, and food for us!
Another permaculture element that we’ve started, and one that I am skeptical about, is the hugelkultur bed. Hugelkultur in German translates to mound culture, so essentially its a mounded planting area filled with fallen logs or other tree debris. We chose an area close to our house that is slightly off-contour but mostly stretched out in an east west direction.

Where did we get all those logs, you ask? They came from a pasture a few miles away that was going to be bull-dozed for more space. They were either fallen or standing dead from fire damage. It took about 4 loads in our trailer to get them here.

During the digging, we removed the top shovel of dirt and placed it next to the hugelkultur. It has the organic matter and the few earthworms we were able to spot. Next, we removed the second shovel depth and moved it to another swale on contour. (Lots of wheelbarrow work). Then we placed the logs, Tetris-style into the hole.

Then the first shovel of organic matter top soil went back on top. The clumps were broken up and the bed was smoothed out, ready for chicken-tilling, cover crops, or vegetables.

This is actually a slightly different version of the classic hugelkulture you’ll find on permaculture websites. They are usually raised much higher off the ground, giving the bed different microclimates i.e. a cooler shaded side and a warmer sunny side. However, I am the kind of person who likes order in my garden. My maps and garden layouts were all for 4’x25′ rectangular beds with FLAT or even sunken surfaces. When hubby and I talked about how this bed would be 3 feet off the ground and sloped on both sides, that totally threw off all the math I had done figuring plant spacing. Additionally, everything I have read about growing food in this region is that raised beds are a bad idea. The wind and hot sun rapidly dry out the soil. Aaron ensures me that the logs will help hold water for the plants during the drought months and that the micro-climates will help the establishing plants. I don’t buy it. So, as we all must learn to do in our working partnerships, we compromise. And thus, we have a “wood-core bed.”
February has also been the month of pallet construction… again. I bet we’ll continually find more uses for pallets every month. For February though, my wonderful handy husband began work on the outhouse:

And, he started this awesome pallet coldframe/windowbox for growing in the cooler parts of the season and hardening off seedlings before they go into the exposed windy wood-core beds.

We have started some seeds indoors that will be transplanted into the garden around the end of March. Mostly cold-weather crops, like broccoli, cabbage, cauliflower, and kale, along with some pest-confusing flowers (marigolds and nasturtiums) and some bushes as well – Siberian pea shrub and huckleberry. If you’ve ever read anything about planting by the moon, you’ll know that planting 2 days before the new moon gives plants a special seed-coat bursting power that allows the best root and leaf growth just a few days after that. John Jeavons talks about this briefly in How to Grow More Vegetables. There are many other books that go into greater detail about planting by the phases of the moon.

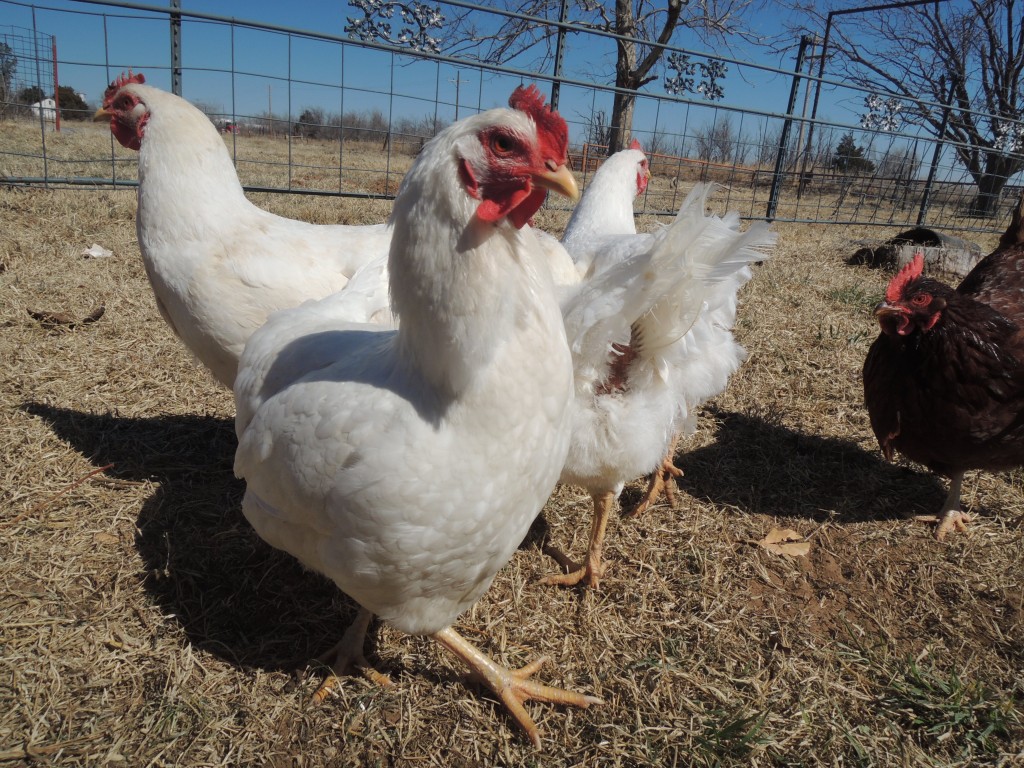
And last, but not least, we got 8 full-grown chickens given to us to start our flock again. Because of their size they are able to defend themselves against the in-laws’ felines. We ordered some electro-net fencing so we can get the ladies working as tiller chickens in the garden! I am so ready for March to bring some warmer weather so we can get out and get some food growing. Spring is just around the corner!




5 thoughts on “Reflections on February, 2014”
Thanks again for sharing such details about your adventure! Is there anything you guys need from Illinois?
You’re welcome! Thanks for reading. Yes, we could use about 10 tons of that black topsoil!
WOW! I am amazed at the work your husband is doing! At age 63, I can remember having that kind of energy and tenacity but am certainly not up to it now. Looking at the dirt work (swales, ditches, and garden bed) I am a bit envious. Here in southwest Missouri we a little dirt mixed with our rocks!
Simply want to say your article is as amazing. The clarity to your publish is just great and
i could assume you’re a professional in this subject.
Well along with your permission allow me to clutch your
RSS feed to stay up to date with imminent post. Thanks a million and please carry on the enjoyable work.
Here is my web-site; his explanation (Nannie)
Nannie~ Thank you for the positive comments. If you’d like to stay up to date with blogposts, you can subscribe on any of the pages with posts (like this one) on the right-hand side-bar.