Reflections on August: Reciprocity
- Reciprocal: in mutual relation; concerning, given, or owed by each with regard to the other. A compliment.
- Reciprocate: give and return mutually; act in return or response
- Reciprocity: mutual exchange or aid; cooperation
- Reciprocating engine: One in which pistons move backward and forward. (Webster)
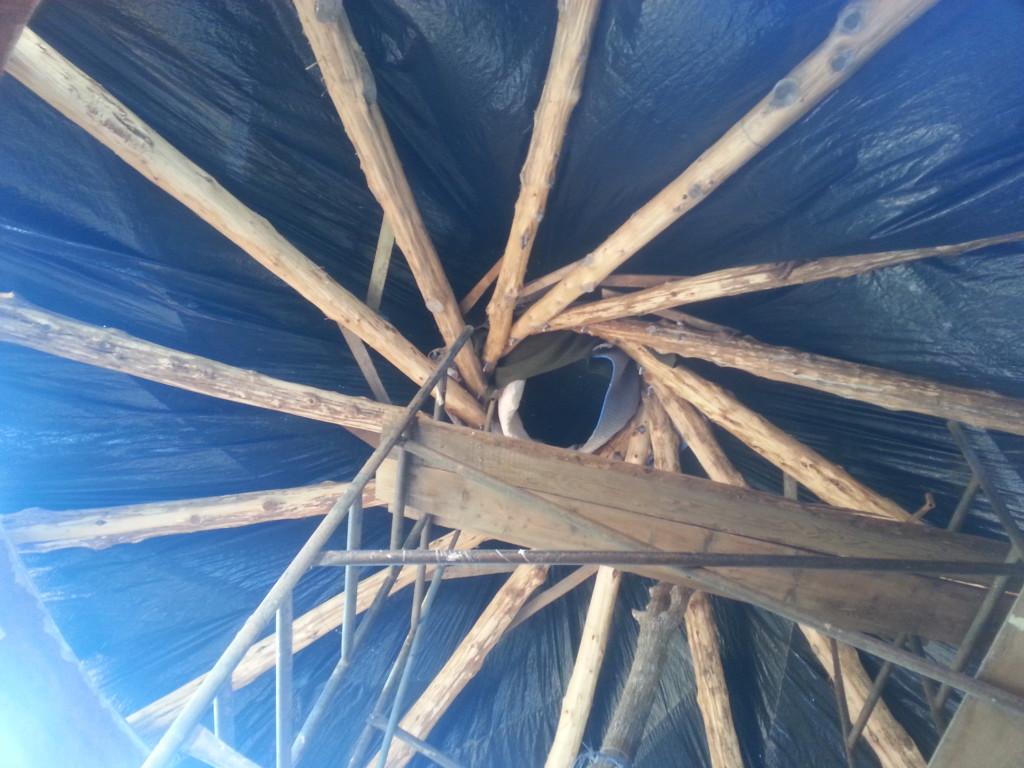
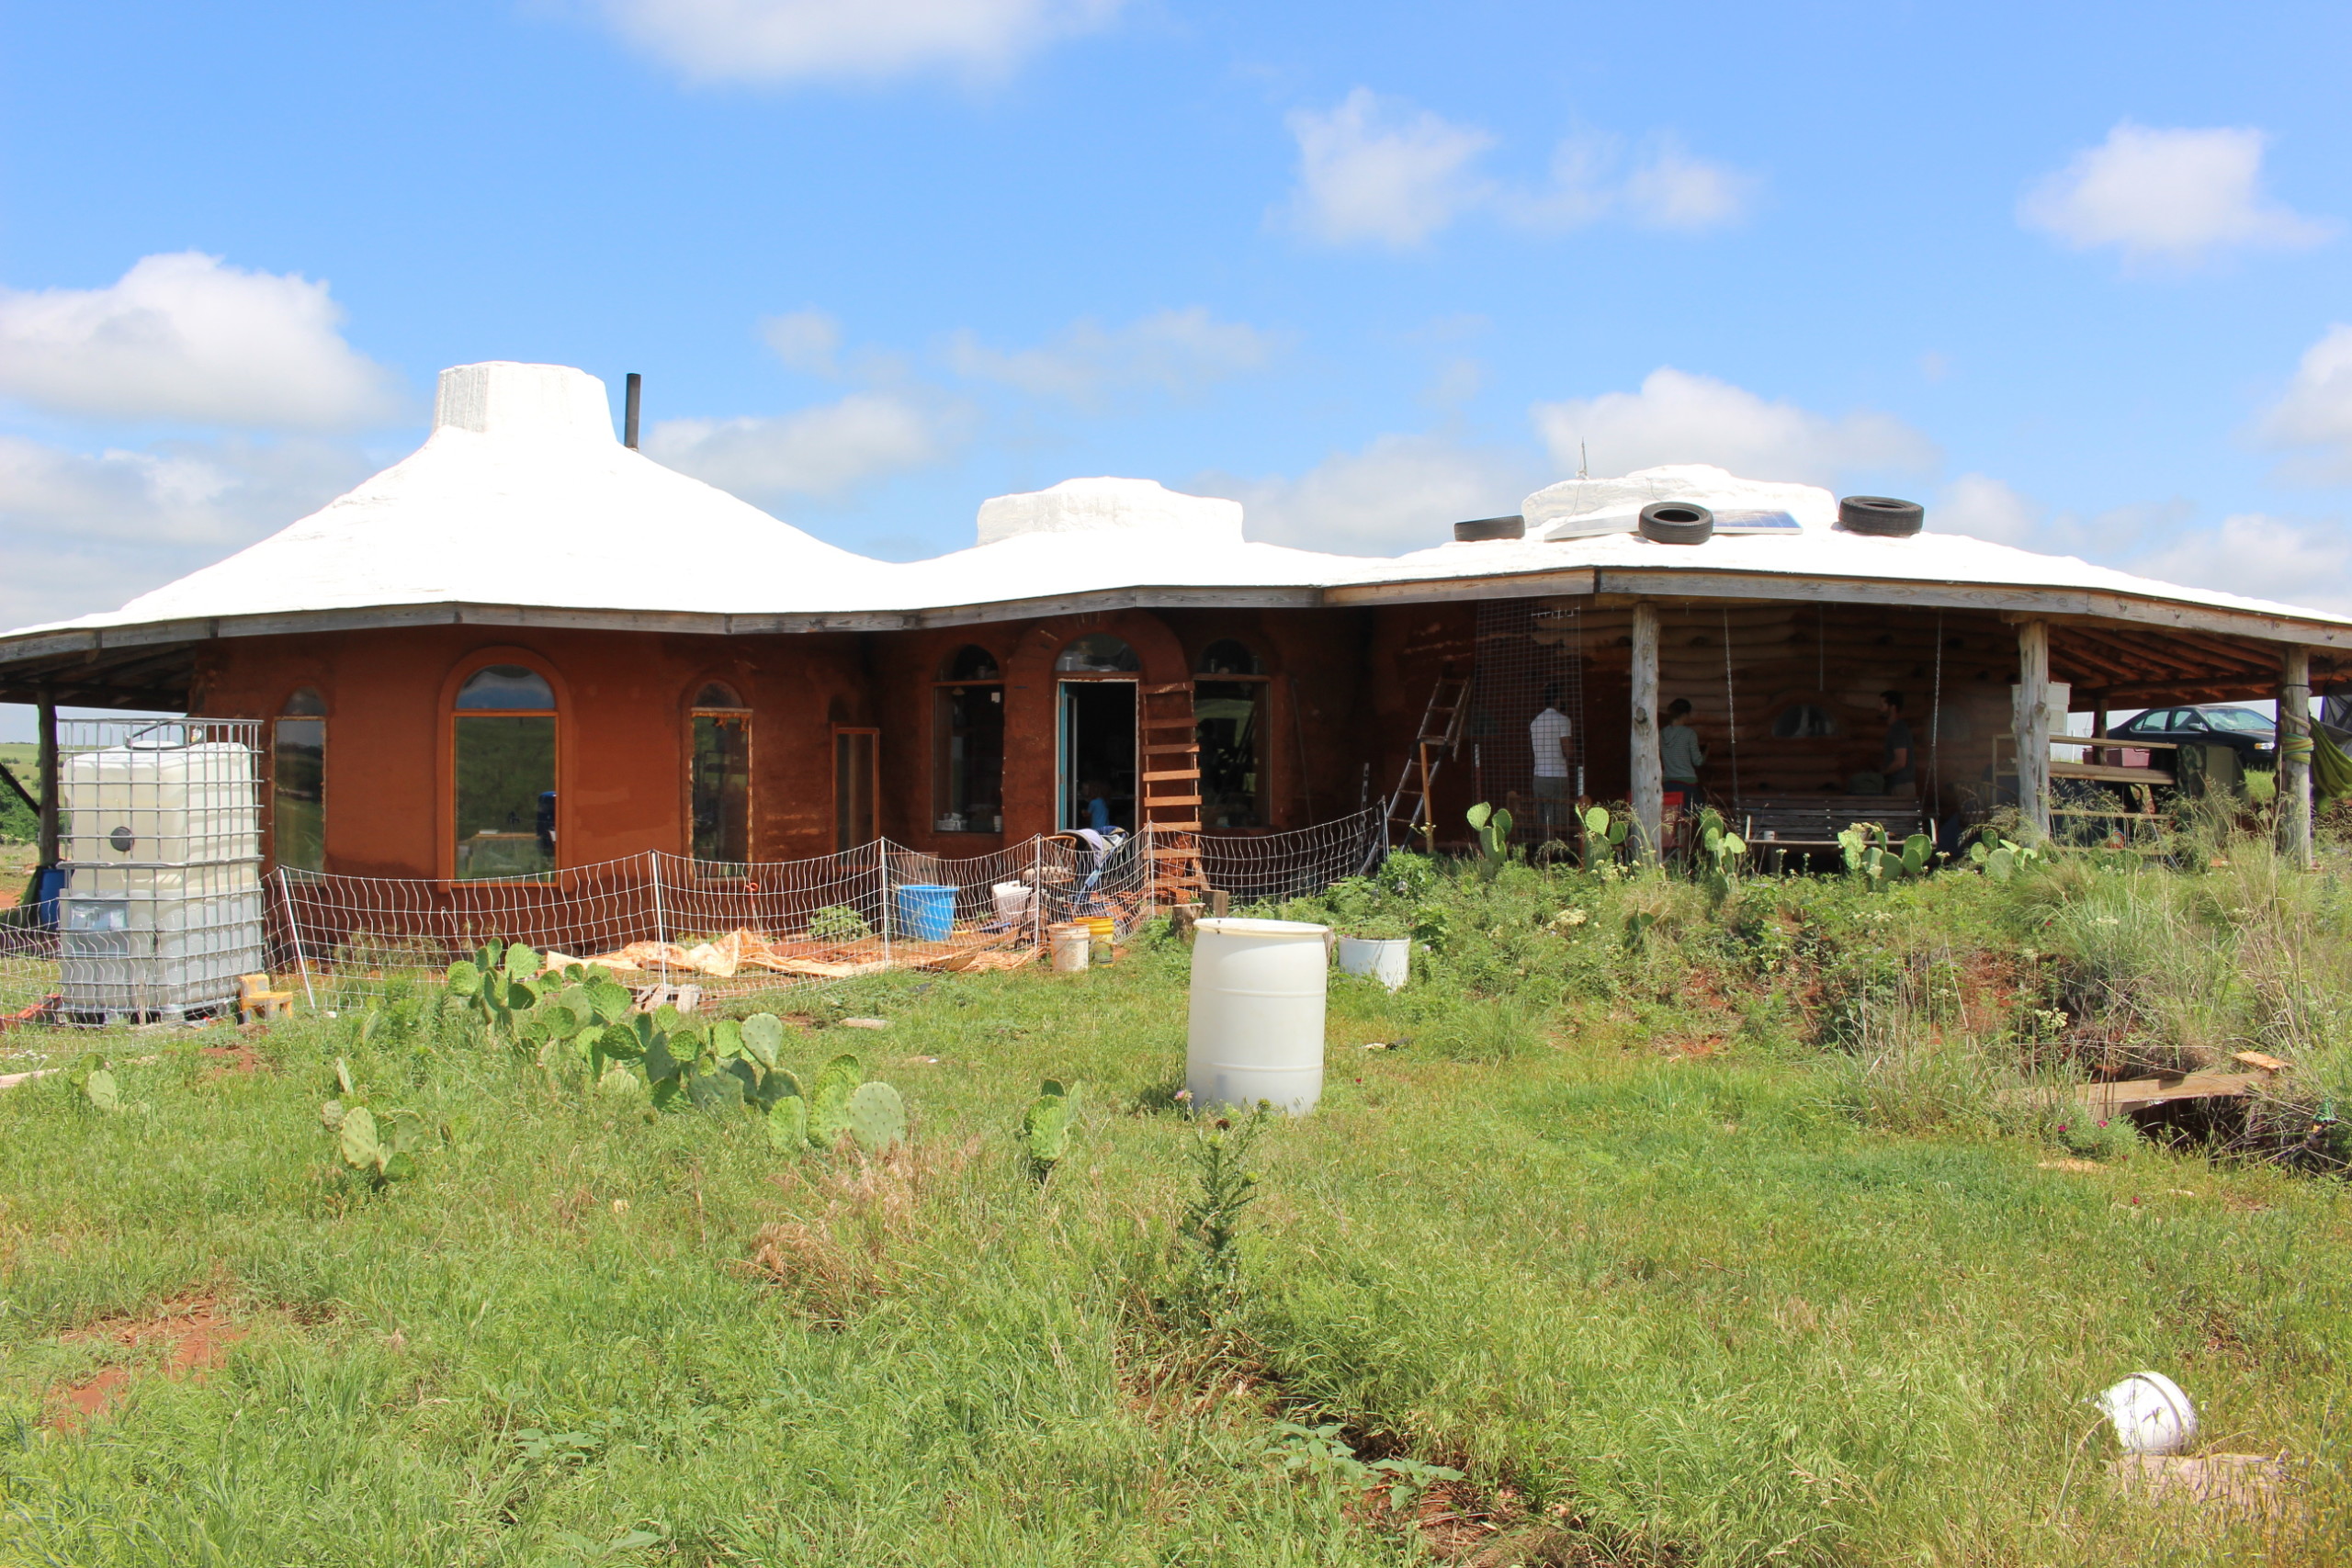
The reciprocal frame roof consists of at least three poles or beams, which rest on top of each other in a circular fashion. The outer ends of the beams rest on the walls of the structure, or the ground, depending on what the builder is creating. The inner ends of the beams lay atop one another. The beams come together in a circle, creating a center ring; there is no beginning or end. They overlap much like a spiral staircase, leaving an opening at the center, the size of which is also dictated by the builder. Because of the weight distribution of the beams atop one another, reciprocity is created.
Reciprocal frame roofs are highly regarded in the natural building community though there is a limited amount of information about them on the internet. Resources that we’ve found helpful are listed at the bottom of this post. There is evidence of similar structures dating back to antiquated castles of Japan and Eskimo huts, though I have yet to find images of these. The modern reciprocal frame, and its coined name are credited to Graham Brown, of Norfolk, UK in 1987. The design of the frames allows for the elimination of a center pole, making them ideal for round houses and earthbag construction. They can also be used on flat-sided structures, but the lengths of the beams need to be long enough to account for the far-reaching corners.
The construction of our 1st reciprocal frame went fairly smooth, with a few bumps, which resulted in an excellent learning experience, as well as a beautiful roof frame.
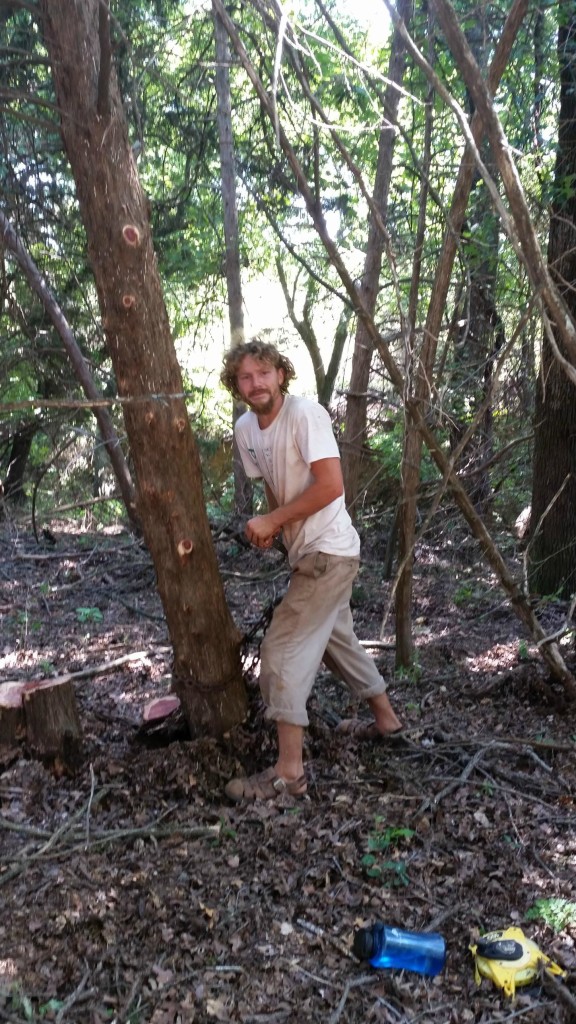
We had already cut a few of our logs (Eastern red cedar) from Aaron’s father’s various acres, but we needed a few more, so about 3 days were spent in the shady woods, most appreciatively, due to the 100 degree weather. The eastern red cedar is considered a trash tree, so many ranchers are more than happy to have them removed. In preparation of our next roofs, we may ask some ranching neighbors if we can do some clean up in their woods. Falling trees is tricky business, when you’re surrounded by other trees with branches that spread out like helping hands, trying to keep their sister trees upright. This meant we had to use the come-along and chains wrapped around other trees to pull a single one down. Once they were down, the tractor pulled them out with ease.
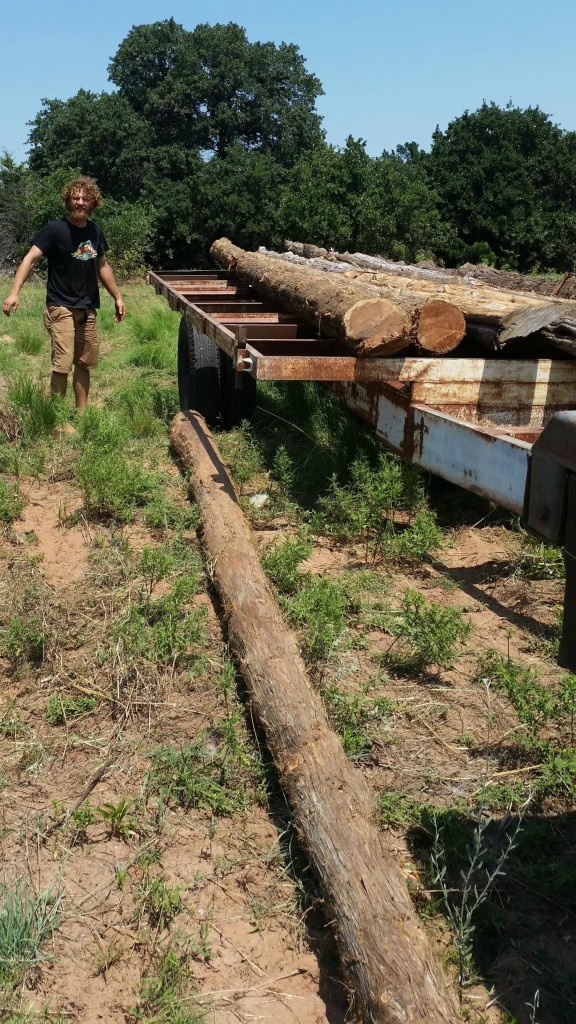
Lifting them onto the trailer was actually a one-man job.
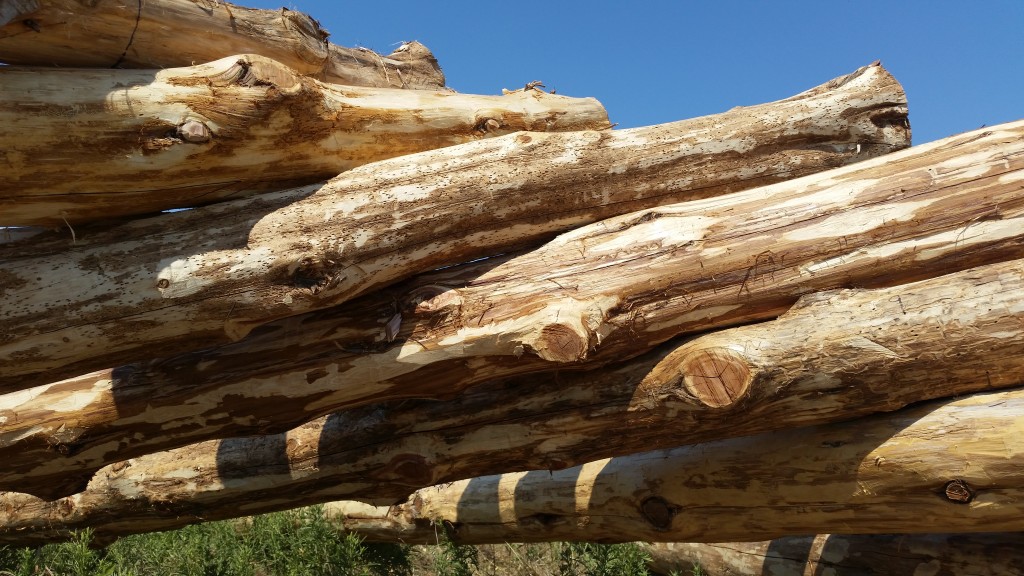
Bugs like to inhabit the area under the bark, so it had to be removed. The cedar logs look so beautiful when all their smooth salmon and umber colors are exposed.
After the skinning, we stacked the beams on the ground with the correct rummy to get an idea of how it works. We applied the formula (hole size × π) ÷ #rafters = rummy length, as described in Tony Wrench’s instructions and used a wood chisel to make flat surfaces for the round logs to rest on one another well. Within 2 days, we had erected the frame on the ground and were ecstatic with its turnout. It was strong and gorgeous.

The reci-frame requires a support-post with a crook for the first beam to rest in, called the Charlie. This is a temporary post and is removed once all the beams are in place, supporting one another on their own. I was surprised at how far away from the central point of the room, the Charlie was to be placed. It has to support the first beam, far enough in from the wall to be past the balance point, but far enough out from the central circle to be out of the way of the other beams.
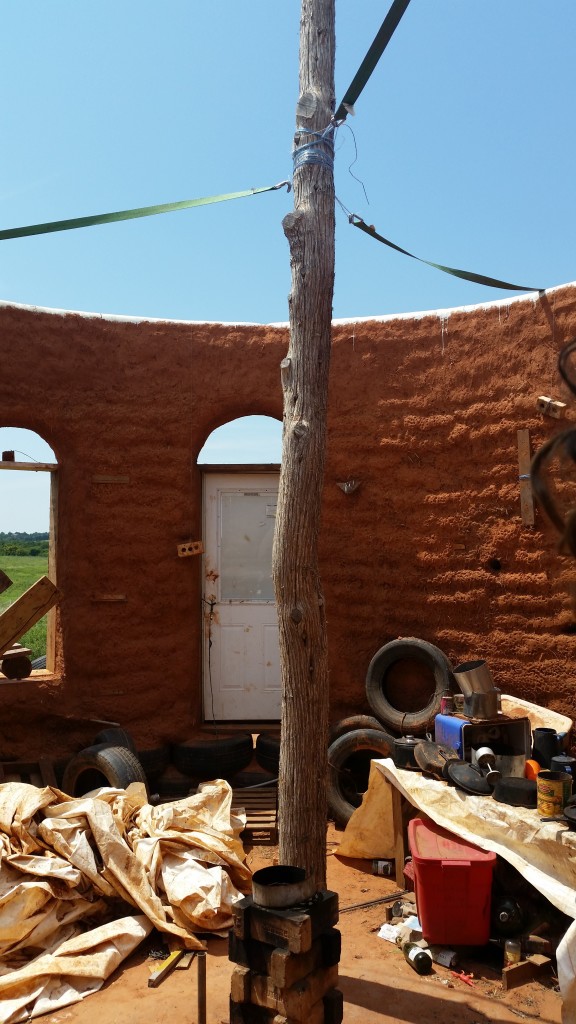
It was quite a task getting Charlie upright. It was 19 feet long and inside of our 20 foot diameter room, with straps and long poles, it was finally put into position. We thought it was going to be too high, so we used the chainsaw to trim off the bottom foot.
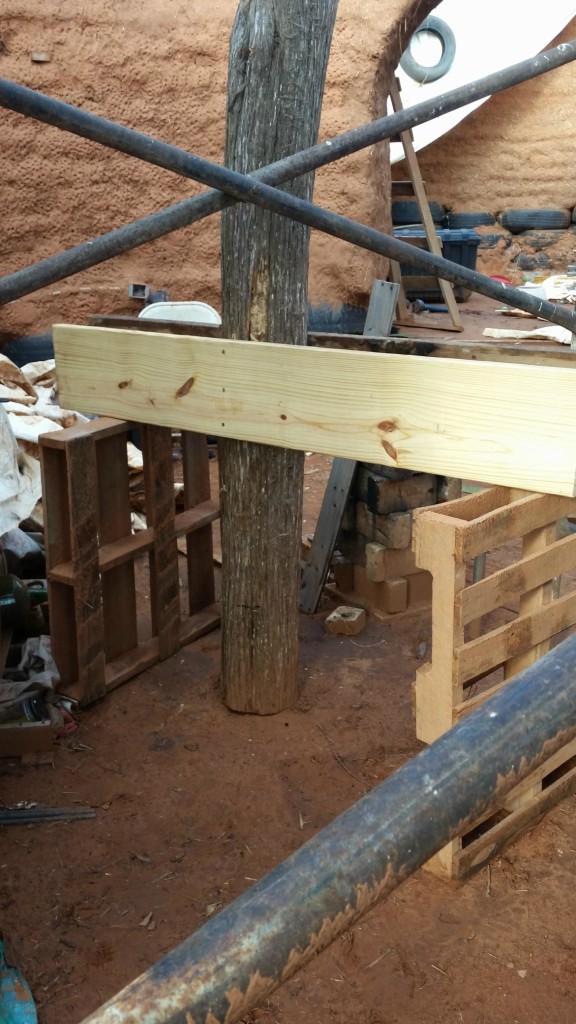
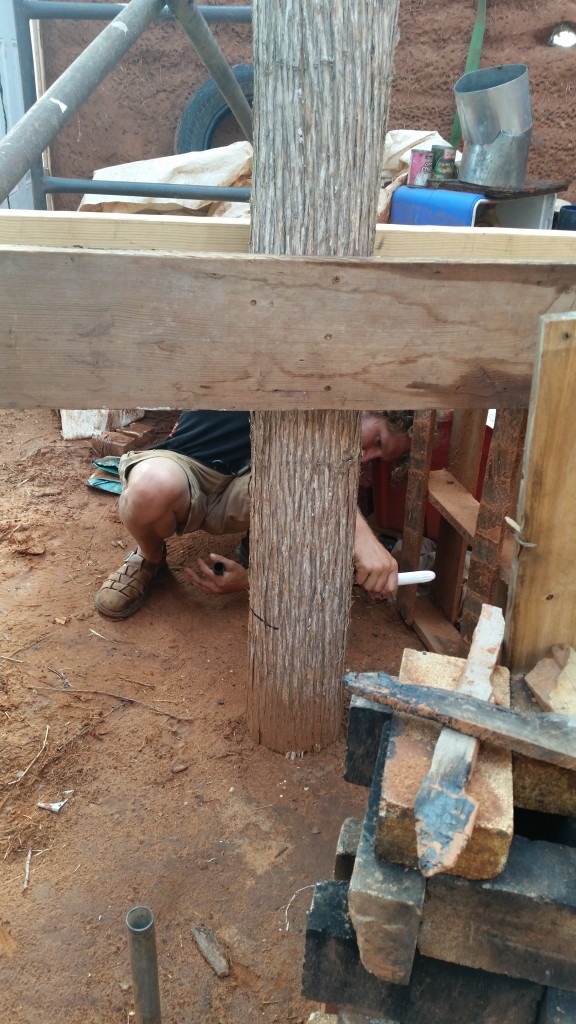
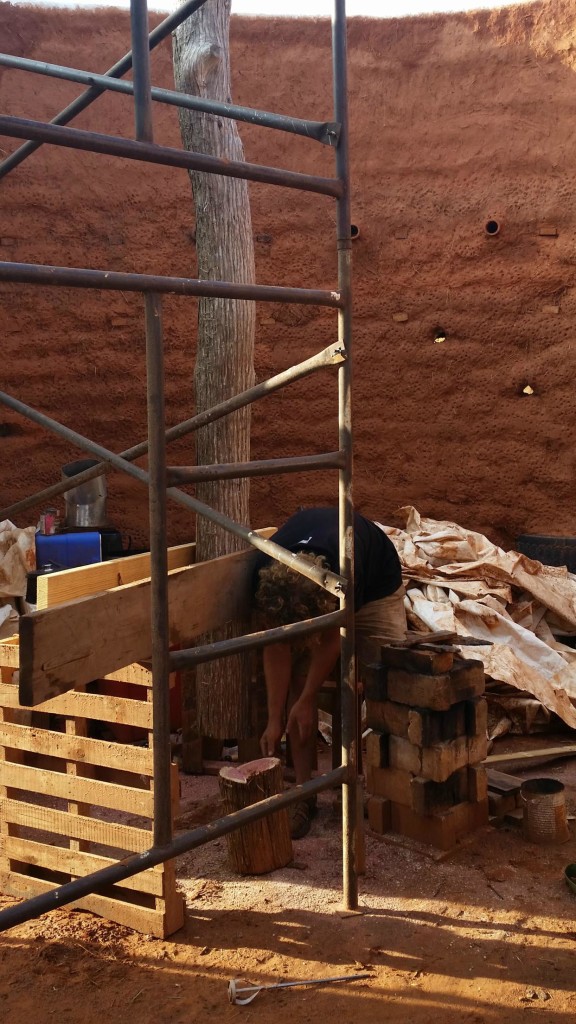
and then, because we’re human, we did it again. We regretted this later.

We borrowed some scaffolding from Gramps and erected it inside the west room.
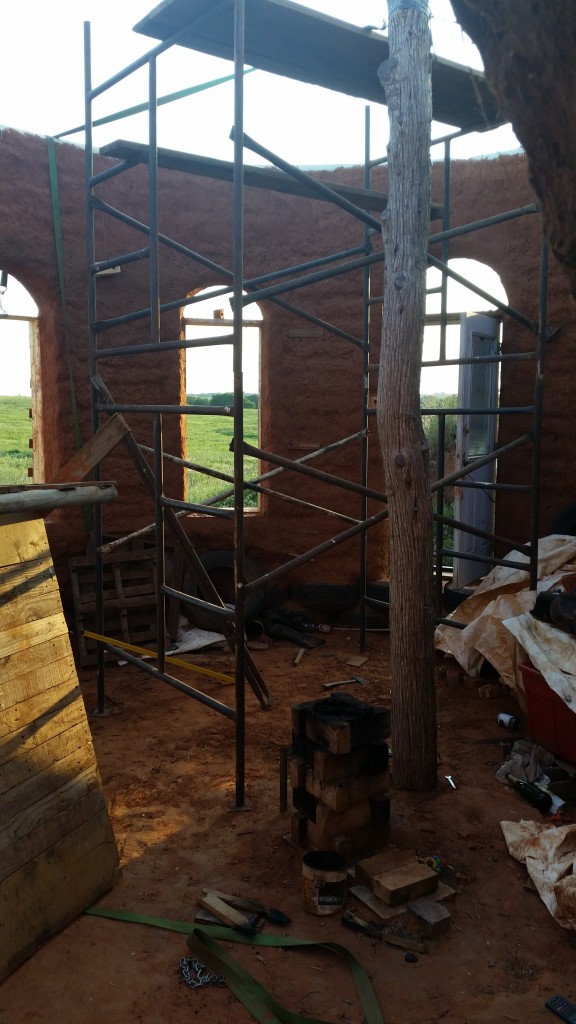
Then on went the first beam. We used the tractor with bucket and a chain to attach the logs and move them up onto the wall.

Before setting them on the wall, we balanced them on a smaller log and marked the balance point. This is a major help when you only have 2 people to maneuver the 17 foot logs. Aaron used a length of rope and a straddling position to hoist the logs around while I stood on the scaffolding and guided them in the right direction.
Now let me tell you a bit about acrophobia. I have been to the top of the Empire State Building, the top the St. Louis Arch, climbed a few mountains, jumped from 20’+ cliffs into rivers, and looked down over many a monstrosity of bridges in my travels. I was always aware of the rush of adrenaline in my body during those moments, but never really scared by them. It is quite a different situation to handle a 200+ pound round log above my head, while balanced on a slightly wobbly set of scaffolding. At times the log would roll toward me, but I would have nowhere to put my foot to brace myself if it did fall, so I ended up using every ounce of muscle in my back to counter that weight and keep it from falling on top of me. All of my movements up there were slow and shaky and the placement of one log in particular ended with tears because I could not keep it from slipping down the edge of the wall. After Aaron monkeyed over to me to assist, he assured me I had done it right, if I hadn’t the log would be back on the ground. Luckily, the first roof was the tallest.
After 11 logs were placed, we came to the realization that log number 12 wasn’t going to fit. Charlie, we decided, was actually Charlene, as her forked “legs” had spread with the weight of the beams. The first beam slipped down into the crook about 10 inches, causing us to lose some of the required height to allow for more beams.
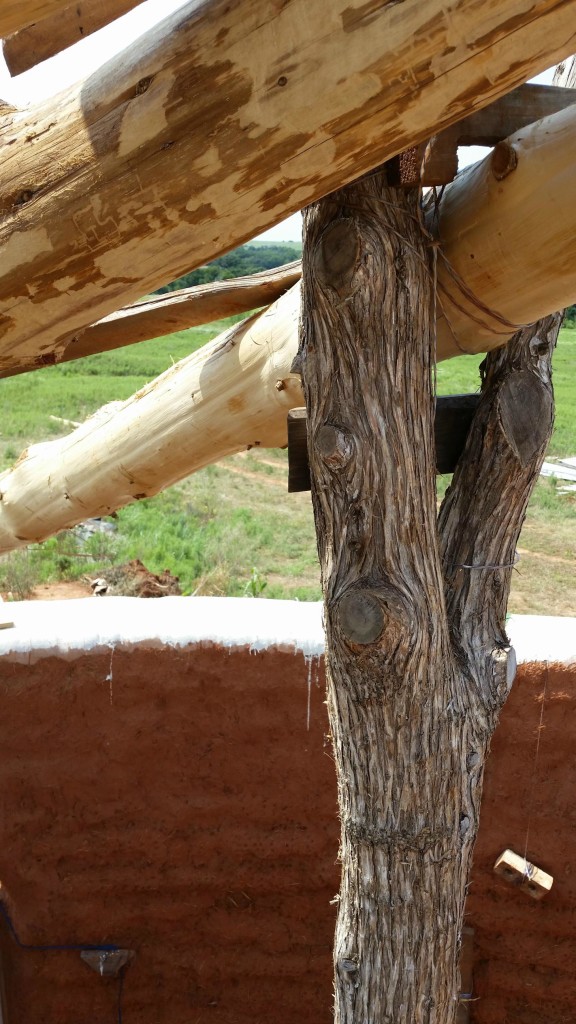
Wishing we could undo the trimming-off of the bottom foot of Charlene, we scoured the internet for “reciprocal frame error,” and “reciprocal roof troubleshooting,” but all we could find was how easy it was to put one of these things together. So, we get to write the book on this obstacle. It required the help of Gramps, a handy man jack, and an entire afternoon of work.
First, some all-thread bolts were fixed through the beams where they made contact. We wanted them to be able to move, but still hold together while we lifted the frame, so we didn’t tighten them all the way. Then the lifting began. Basically, Aaron cut a notch out of the bottom of Charlene, in which to insert the handy man jack. After lifting the whole frame, with 11 logs, weighing around 200 pounds each, we were able to insert number 12. We quickly realized the pressure of the lift was causing the first beam to lift off of the wall, so it had to be strapped down. That beam actually bent under the pressure a noticeable amount. We used blocks of all sorts to set under Charlene, while she was lifted up further and further until we were able to fit in number 13 and 14. The sun was setting and we were so close, when the whole thing collapsed! Just kidding, but I did wonder, with all the creaking and moaning, if something like that would happen. Actually, even with only 11 beams, the weight distribution and soundness of the frame was already there, because the 1st was underneath the 11th. It was already self-supporting.
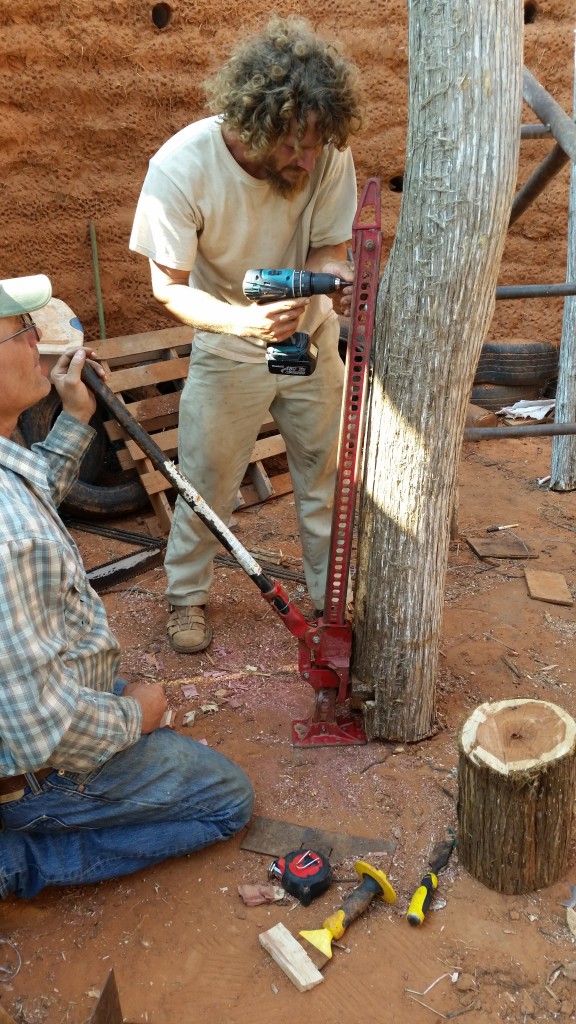
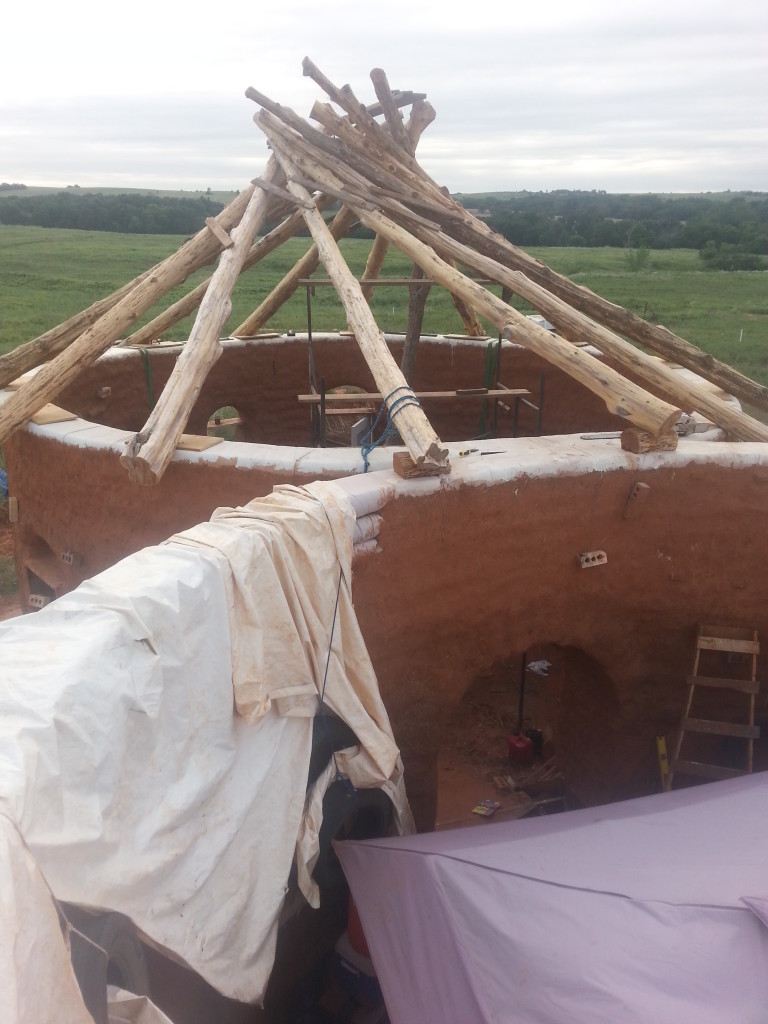
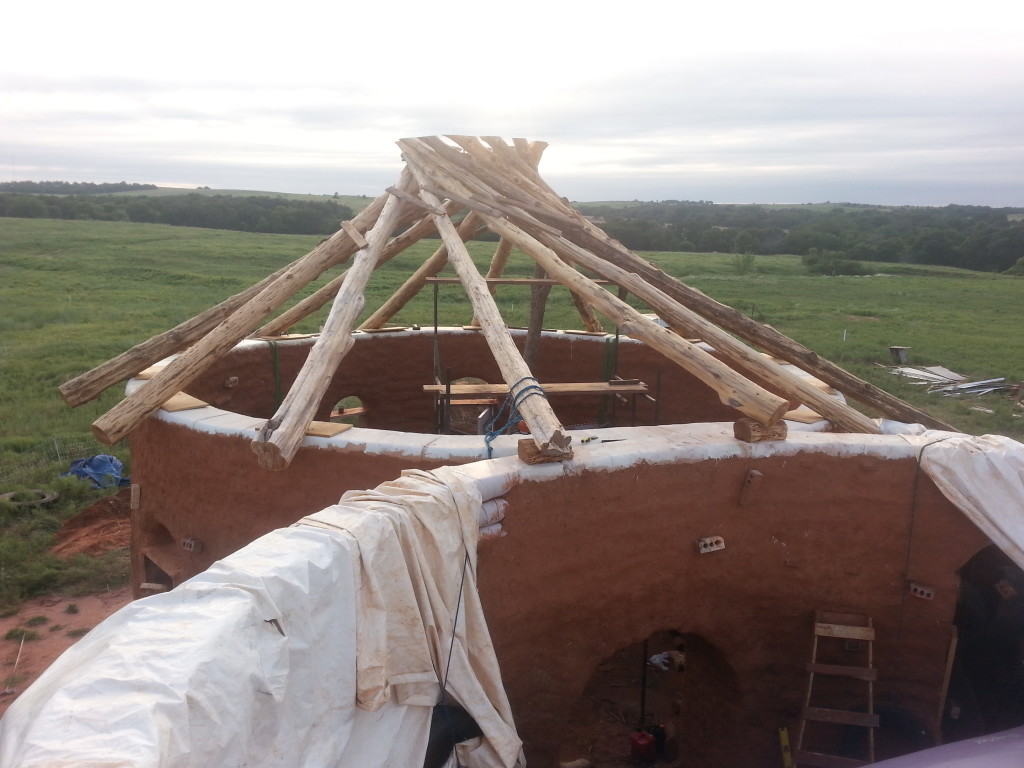
Then, after all the beams were in place, the last bolts were secured, and the floor jack was allowed to rest. Charlene actually had to be pulled out. She had been fitted with some auxiliary support up in her crook. Then she was moved out of the way and there stood our first self-supporting reciprocal roof frame! It was glorious!

The next day, our roof got a haircut:
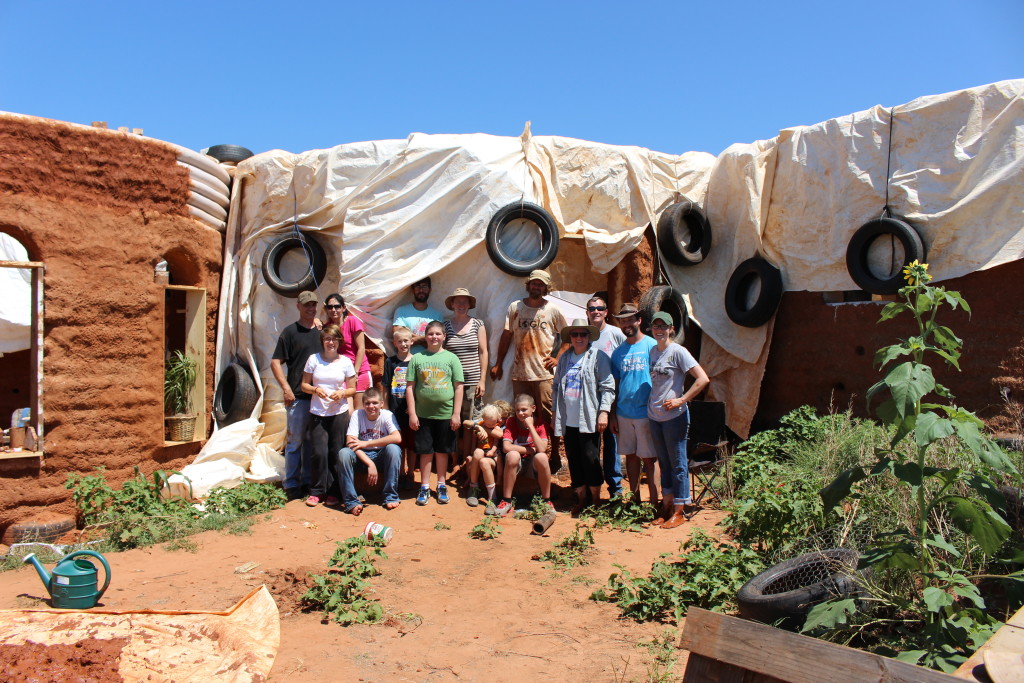
Just before all this roof business happened, we had a workshop to get some cobbing done. We had a great turnout! We met some Oklahoma natural building enthusiasts who were eager to learn and help out and we were eager to reciprocate with answers to the many questions they had. We were able to make 7 batches of cob and get 6 applied. Our windows on the west room all received a good layer of cob, and thanks to a layer of paint primed with sand, the cob stuck very nicely to the wooden window boxes. It was hot that day – 105, I think, but it didn’t scare away our helpers. They all want to come back and help again.
As for guinea news, there is nothing to report, other than 6 healthy grasshopper-gobbling feathered fowl. They had changed their roost site to the top of the clubhouse instead of the chicken coop. And, I decided to name the male, Gunnar. He’s the one with the lopsided waddles, who is usually leading around a group of guinea hens like a rockstar and his groupies. If only I could get him to wear a gold chain! Ha!
In the last week of August, we’ve been busy harvesting “trash trees” for our consecutive roof frames and skinning them when they’re fresh. It is much easier this way. If they are left over any period of time, the bark seems to harden to the wood and that requires more time and skill to scrape it off.
We also put a tarp over the first roof frame to protect the exposed bag on top of the wall and provide shade for us during breaks. Of course the plains’ wind wants to blow it off, so Aaron climbed up and fixed it down with some 2x4s. It blows minimally now. It probably won’t last long, so we’re going to enjoy the shade while we’ve got it.
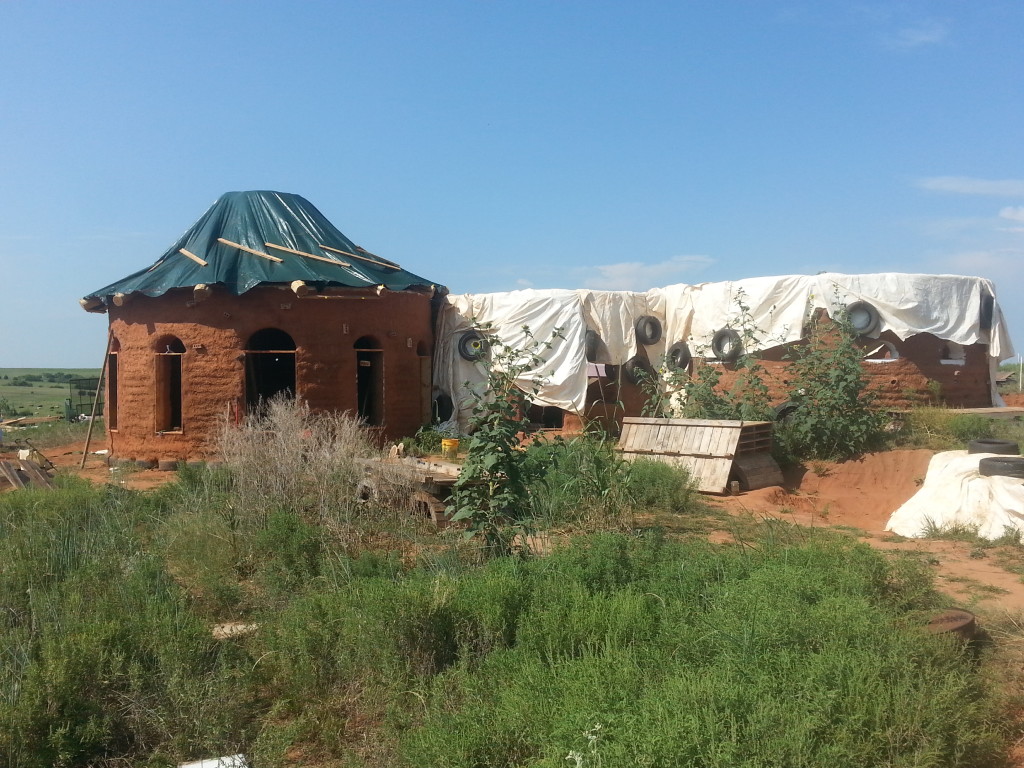
August was a successful month overall. September should bring lots of pallets, (that’s what’ll provide the decking on our roofs) lots of work on all the roofs, and some cooler temperatures. I am so excited, as our house gets closer and closer to completion! We began in November of 2013, and I am hoping that we’ll be comfortable inside at least one room by November of 2015.
If you like reading these homesteading adventure blogs, please reciprocate by leaving a comment and/or sharing with your friends. We are trying to be the change we wish to see in the world!
Resources:
Milkwood: Small group of folks, though larger than our group, builds a reci-frame roof on a straw-bale house: http://www.milkwood.net/2013/07/15/roundhouse-build-making-a-reciprocal-roof/
The Year of Mud’s Instructions: Another straw-bale house’s roof: http://www.theyearofmud.com/2008/11/26/how-to-build-a-reciprocal-roof-frame/
Tony Wrench’s instructions and excellent video: http://www.thatroundhouse.info/reciframes.htm





1 thought on “Reflections on August, 2015: Reciprocity”
Thanks Alison for the awesome updates on the house! Also, thank you for sharing your life with your mom with us. She must have been an extraordinary person! What a blessing to have had her in your life. I wept through the entire post! We’re looking forward to the next time we have the opportunity to come help. We have shared our experience with our family and friends. Although, many of them think we’re crazy, they are also intrigued with the idea of earth building. I can’t wait to be as far along with our home building as you are with yours. Thanks for being an inspiration!
Happy cobbing, Laurie!